I love reader questions. Did you know that? I love to open a reader’s email and see what they have to say. I’m going to answer a question here.
“You talk about having a lot to do this time of year but you haven’t told us everything you do. What do you do and how do you fit it all in?” ~Rhonda
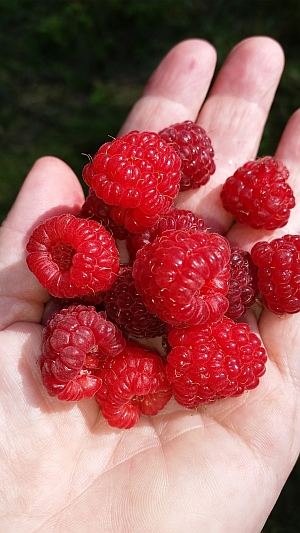
Raspberries freeze well
This time of year feels like it’s busier than others but in reality, I’m probably feeling more rushed. Homesteading can be a full time job and if you’re already working a job, it can be stressful.
The first killing frost is hanging over our heads any time after the first week of September. It might be early or it might not happen until October. The first frost could come early and then we’ll be frost free for weeks. It’s too late for the tomatoes, squash, cucumbers and other warm season crops once they’ve been frost killed no matter how good the weather is after so there’s the rush to force the plants to produce.
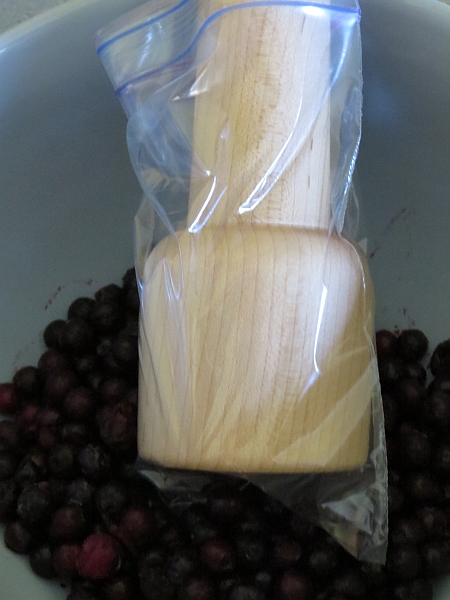
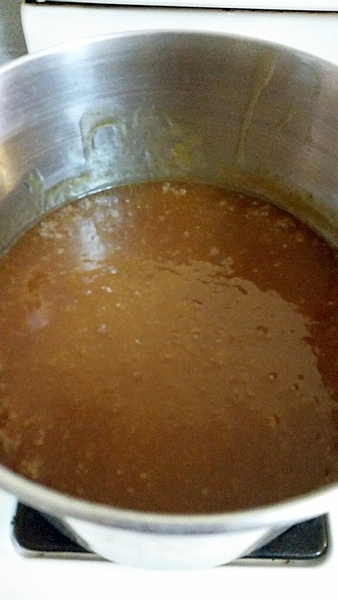
The late raspberries are ripening and the wild blackberries are still going gangbusters. Making jam and jelly is simple but it’s time consuming. I have more time in the winter than right now they’re being frozen in a single layer on cookie sheets. I don’t think these berries make the best jam after they’ve been frozen but freezing them makes it easier to make jelly. They skins burst when they’re frozen so they let go of the juice easily as they thaw.
- Tip: Freezing strawberries saves time during the summer. You’ll make thicker jam with less pectic and sugar and have juice for jelly when the berries thaw.

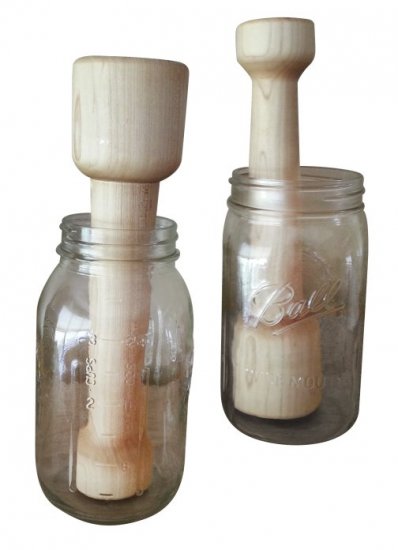
Deluxe Stainless Steel Food Mill
Apples don’t have to be sauced, jellied, pied or otherwise put up immediately. You have at least a few weeks, and sometimes months, to get them processed. I picked a bushel of apples one day last week. They were roasted another day and then stored in the fridge. On day three I put them through the food mill (if you don’t have a food mill, you need one). I warmed the apples turned applesauce on the stove, added sugar and spices, and hot water bathed the batched. It took a little time on each of three days but I didn’t have enough time in one day to do it all. Do what you can when you can and it will come together. A little time here and there resulted in 18 pints of sauce.
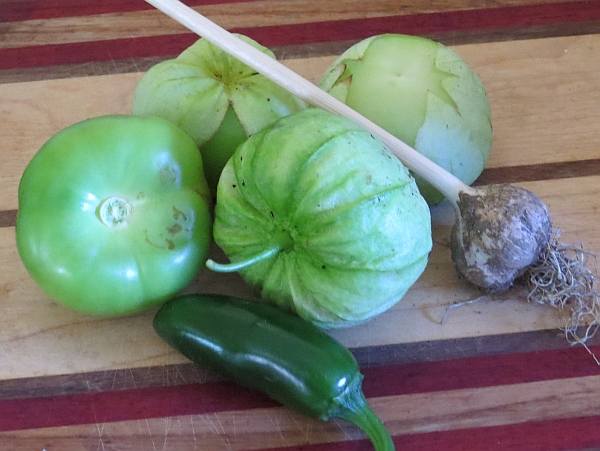
Salsa Verde Ingredients: tomatillo, Jalepeno pepper, garlic. Missing – onion and cilantro, to be pulled and picked in a few days.
- Tip: If your tomatoes are not ripening fast enough you can push a spade into the ground around the roots to stress the plants. Cut 12 inches from the base of the plant, severing the roots. A plant’s mission in life is to reproduce. You’ll speed up ripening this way.
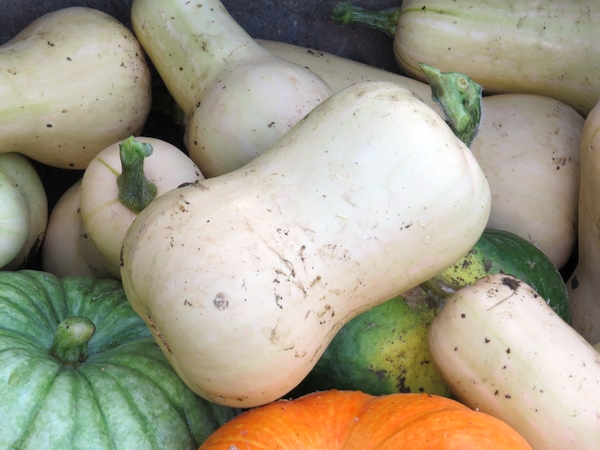
The garden is still producing well. Tomatoes, eggplant, tomatillos, squash, pumpkins, cucumbers, kale, cabbage – just about everything is still growing. It all has to be weeded, watered when we don’t have enough rain, picked, preserved or stored – you know how it goes with the garden. This morning I picked close to a half bushel of tomatillos for salsa verde. It’s also hunting season. I can’t put hunting in the freezer so move over berries and vegetables, the tomatillos are coming in. Tomatoes can also be frozen. I like having the warmth from the oven early in the morning on a chilly day as the tomatoes or tomatillos roast. An hour or two with the oven on replaces the small, hot, quick burning fire I usually build on a late fall morning.
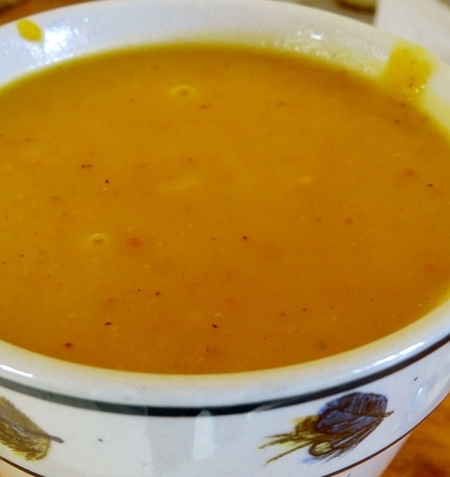
- Tip: When your pumpkins and winter squash start to get soft spots, clean them up and roast them first thing in the morning, then freeze the flesh. This is usually a mid-winter project when I start checking on vegetables stored in the root cellar.
Firewood is weighing heavily on my mind these days. It was delivered late so I’m rushing to get it split and stacked to dry. Best made plans and all, I couldn’t depend on someone when it came to firewood so I was stuck with making the best of a bad situation. It happens. I’m working on eight cords of beach, ash, maple, yellow birch and white birch. The hydraulic splitter makes the work a lot easier but it’s still not an easy job on a hot, late summer day.
- Tip: Secure next year’s firewood supply now and ask that it be delivered in spring. We burn up to six cords a year. I buy eight cords a year which means we a year “off” now and then without the expense and work, and won’t run out of wood.
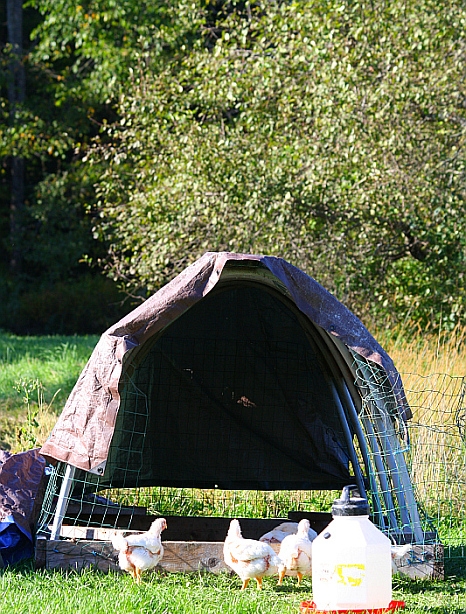
Pigs, ducks and chickens are growing out back. They’re turning grass, insects, weeds, food scraps and a few commercial pellets into meat that will feed my family. Portable fences and chicken tractors need to be moved daily. Two people moving fencing takes me a third of the time it takes when I have to do it alone. Ask for help.
When did the paint start peeling off the hen house? I swear it was fine yesterday. Or I was too busy to notice. I’m not sure it’s going to get painted before the snow flies. If there are a few extra dollars I might hire someone to do it for me. It would take someone who likes to paint less than a day to do it. It takes me more than a day to fumble through scraping and painting. We can’t always do it all. Remember when you first started to daydream of homesteading? It was so idyllic. You’d spend days outdoors in the beautiful weather doing your chores? The mosquitoes weren’t part of my daydream. Neither was heat rash. Rainy days would be spent inside, cooking and ready. Painting the hen house was not in my day dream.
- Tip: Neighborhood kids are often willing to do some work if you pay fairly, and you might be surprised at how well they work. I pay by the job rather than the hour. I don’t want to pay for the time they spend taking selfies and texting.
Plan to use the oven early in the morning or later in the day to warm up the house. It can do its work while you’re doing something else.
- Tip: The final muck out of stalls and pens doesn’t have to happen when the animals leave for slaughter. Give your attention to the work that must be done at time and get to the stalls, pens and the hen house before the ground freezes and you’ll be all set.
Do you have a time management tip to share? Please leave them in comments!

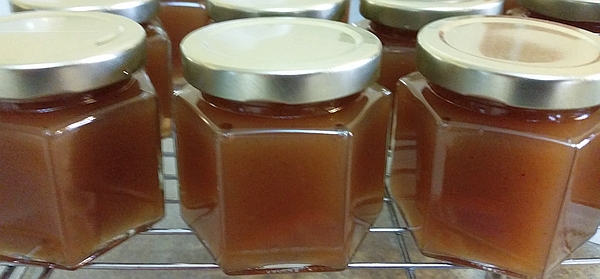
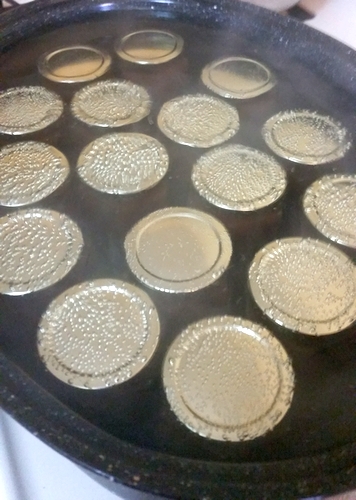
 Old school canning told us to fill the jars, cover the jelly with paraffin wax and allow to cool before adding a cover. Another formerly accepted method didn’t use paraffin. We tightened the jar lid and turned the jars upside down until they sealed. We know now that these aren’t the best methods. You’ll find great information including how to hot water bath your jelly in Preserving With Pomona’s Pectin by Allison Carroll Duffy.