In the Kitchen with Prepper Pro
The Homesteader’s Supply logo is branded on each Prepper Pro
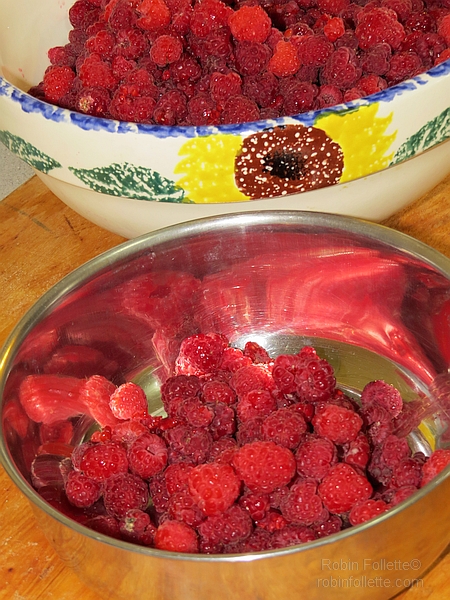
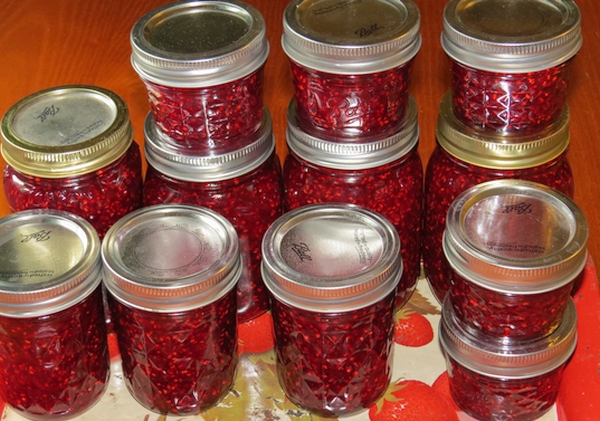
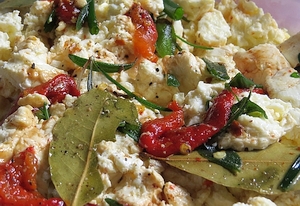
This morning I woke up with enthusiasm and dread. It’s a food day. Mushrooms needed to be cleaned and dehydrated. Beans were waiting to be picked, blanched and frozen. The blueberries were taken out of the freezer last night to thaw and needed to be made into jam today. I knew I’d be working with the Prepper Pro today. I waited until it arrived in the mail to make jam. When it was time to put it to use in the blueberries, I hesitated.
The Appalachian Maple wood is treated with raw, organic coconut oil but I wasn’t sure the blueberries wouldn’t stain it. It’s such a beautiful piece that I didn’t want to take chances with it. I thought about wrapping it in Saran wrap but wasn’t sure it would stand up to two quarts of blueberries without slipping. I opted instead for a zippered sandwich bag. It worked perfectly to protect the wood.
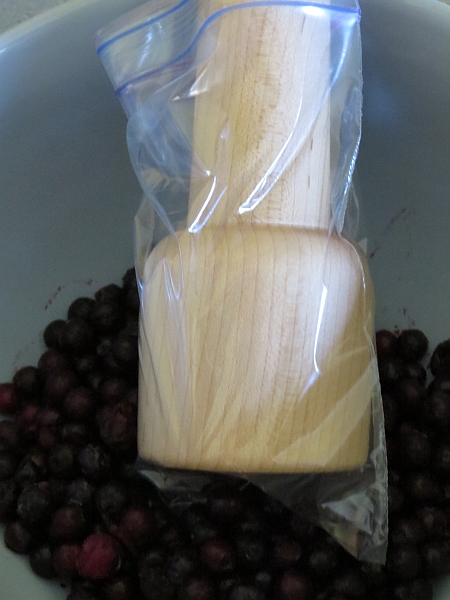
A zippered sandwich bag protected the Prepper Pro from being stained.
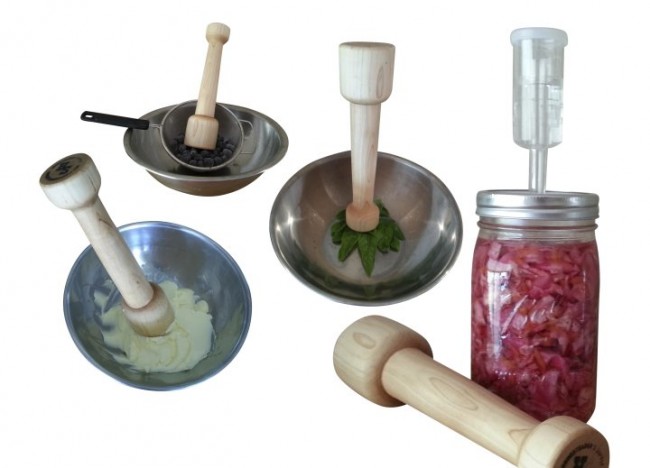
I won’t use the bag when I grind dehydrated Chanterelle mushrooms into powder or when grinding herbs. I’ll be pulverizing wild mint later this week. The large end (pictured above) of the Prepper Pro fits into a wide mouth canning jar. The smaller end fits into a small mouth jar. As I used it I thought of more ways I’ll use this new tool of mine.
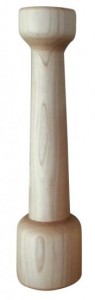
The Prepper Pro is another of our new products that was designed by Jerri, owner of Homesteader’s Supply, and is being made locally from locally sourced Appalachian maple trees. It’s well balanced, smooth as can be, and fits comfortably in my hands.
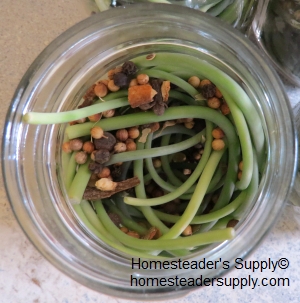
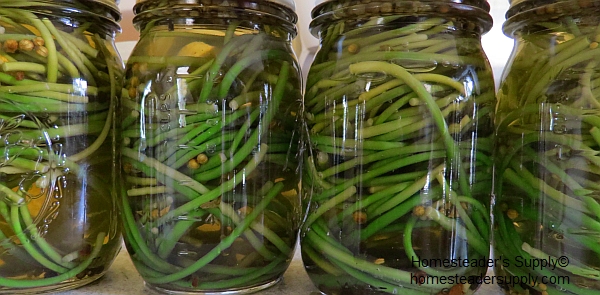
You can purchase the Fermenting Kit that comes with:
- 3 pack Pickle-Pro lids (fit all wide mouth canning jars)
- Starter Culture (enough for approx 30 Quarts of fermented veggies)
- Book: Fermenting Foods by Wardeh Harmon, just released this year 2012!
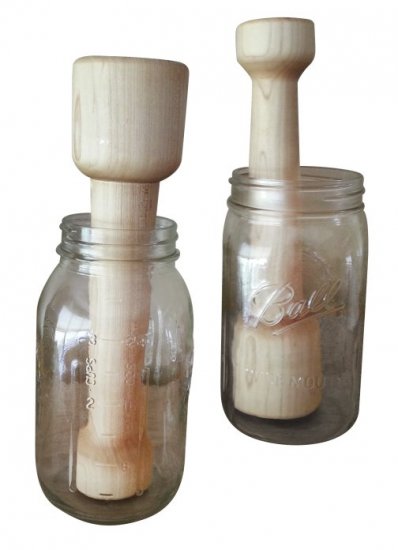
The Prepper Pro fits into small and large mouth canning jars.
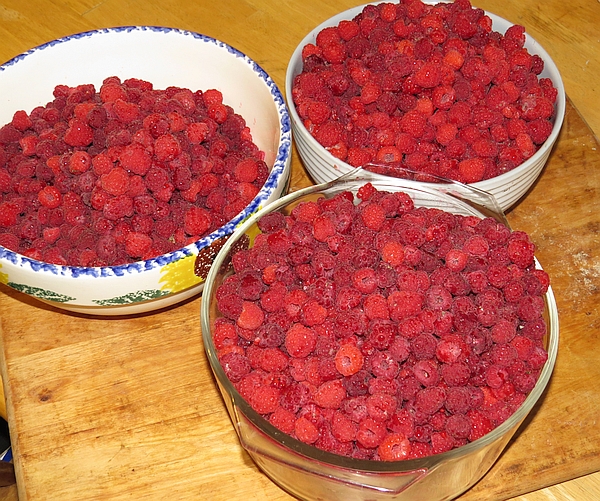
I’ll be mashing strawberries, raspberries and blackberries I’ve frozen to use later. There are always herbs to grind, both fresh and dehydrated. And I think I’ll give a grind or two to my loose, dried tea blends to wake them up a bit before putting them into the tea ball. I’ll be using this for more than packing my jars when I make sauerkraut. I washed the Prepper Pro when I finished using it, applied more organic coconut oil, and put in easy reach on the shelf. This is going to be used often.
And I’ll be adding the Prepper Pro to a few Christmas baskets this year. I have friends who’ll put it to good use!