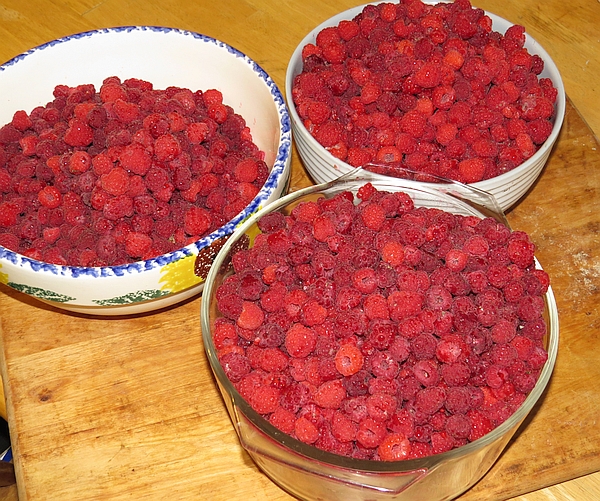
Autumn’s coming. The stressed trees are showing a little fall color now. Nights are cooling down and if they haven’t already, day time temps will cool soon. The soil temperature will drop as the amount of sunshine decreases, and that means it’s time to plant the cool loving seeds. Decreasing sunlight and warmth slows growth compared to spring planting. It’s best to plant in full sun at this time of year.
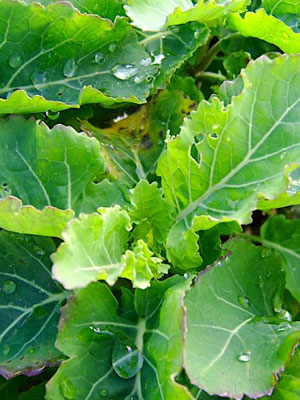
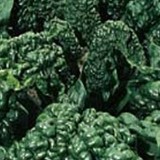
Premier, also known as Early Hanover, is an heirloom kale. It takes approximately 60 days to maturity when planted in late summer or early fall. In spring, as the days are getting longer, it averages 45-50 days. You can cut some as baby kale for salad and stir fry while leaving part of the plant to over winter under protection of a low tunnel in zones five and up. Not all plants will survive even with protection but those that do will start to grow again in March or April.
May Queen lettuce grows well in rich, moist soil. May Queen is an heirloom butterhead that needs 50+ days to maturity but only 30 for baby greens.
Inter-seeding Cherry Belle radishes will help you spread out your tiny seeds when direct seeding. They sprout quickly and will help mark your rows. Did you know radish leaves are great in salad and stir fry when they are young and tender? Save some of your seeds to plant in pots on the window sill for winter. 21 days to maturity.
Bloomsdale Longstanding spinach
Bloomsdale Longstanding spinach is perfect for the autumn garden. It dislikes heat but thrives in cool, moist soil. It requires 55 days to maturity but at this time of year you won’t want to let the plant reach maturity. Enjoy eating the spinach until about a week before the forecast calls for several nights in a row below freezing, then make your last cut and mulch heavily with straw or leaves. You can pull back the mulch when the nights are consistently above freezing in the sprig and have a head start on the growing season.
Turnip thrives in cool, moist soil. Purple Globe White Top needs 45-60 days to reach its mature size of three to four inch roots. Pull all of these turnip before the ground freezes as they don’t over winter well. If they do survive they’ll go to seed early in the spring.
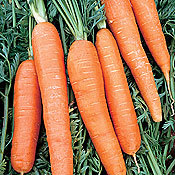
Scarlet Nantes Carrot
For late season carrots we like Scarlet Nantes and Danvers varieties. Carrots, like other roots, get sweeter as the soil gets colder. Pull what you’ll eat fresh and can store, then mulch the rest of the row heavily with leaves or straw before the ground freezes. As long as you can push the mulch out of the way you’ll be able to pull carrots. Move mulch when nights stay above freezing in the spring and start harvesting again.
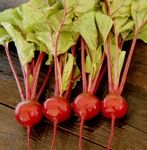
Detroit Dark Red Beet
Detroit Dark Red beets are treated in the same manner as carrots. Enjoy the leaves as baby greens in salad or larger leaves for beet greens. Cut only two leaves per root at this time of year to ensure the roots receives enough energy to grow.