Tag Archives: Gardening

Grocery Shopping is Expensive!

Grocery shopping is expensive!

After leaving the grocery store yesterday morning, I sat in the car, a little disturbed and depressed. The expense of grocery shopping these days is astronomical. I came home determined to grow more of my own food. I’ll add to my container gardening and I’m thinking about what I can grow indoors in winter. Ugh! Grocery shopping is expensive!
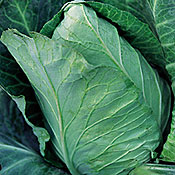
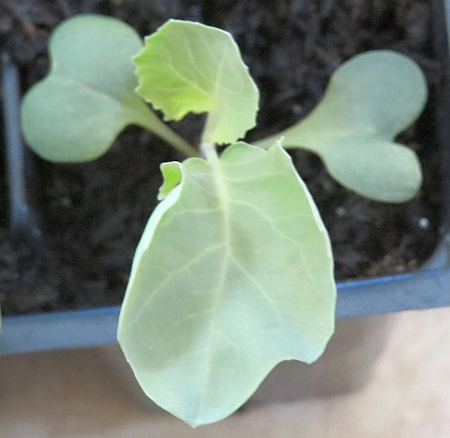
grocery shopping is expensive

Jersey cabbage

It’s May and there’s fresh food available but not enough to put fresh vegetables on the table daily so I’m still shopping. It’s time to find the local farmers market in my new state.

  • Cabbage: $1.29 a pound. I bought it because I’ve been craving coleslaw but it kind of hurt a little. grocery shopping is expensive
  • Carrots:  They are dry and many of them were cracked, and they’re .99 cents a pound. I moved on to the organic section and found nice carrots for $1.49 a pound. I’m sure this is less expensive per pound. They don’t have to be peeled because they are fresher, and because they aren’t overgrown and cracked. They’ll be great in the coleslaw.
  • Broccoli: Soft and starting to flower. $1.99 a pound. The stems’ ends were dried out.
  • Peas: $4 a pound. It takes about a pound of freshly picked peas to get one cup of peas after shelling.  Who can afford to pay $4 a cup for peas? Oh my gosh, grocery shopping is expensive.
  • Spinach. I looked at baby spinach with the thought of adding it to my salads and quiche (the hens are laying full force so I’m eating a lot of quiche). It was packaged in a plastic container. $9.09 per pound. I can buy a lot of spinach seeds for $9.00.
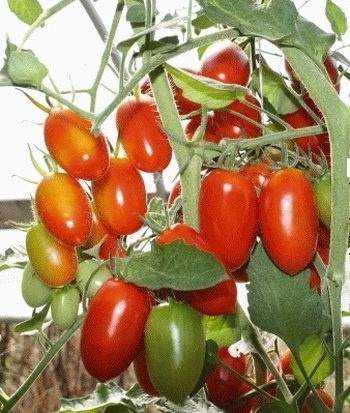
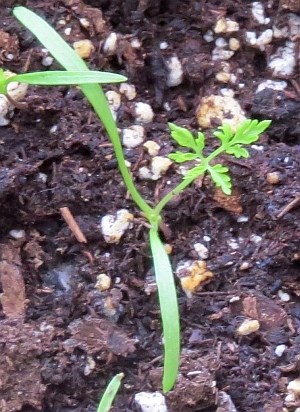
    cherry tomato, grocery shopping is expensive

    Juliet tomato

  • Tomatoes: They’re not ripe here yet, and they weren’t in the grocery store either. They were so immature they were hard and what I consider inedible.  Shipped in from Mexico and $1.79 a pound. grocery shopping is expensive
  • Yellow summer squash.  It’s a wonder I didn’t mutter out loud.  $1.79 a pound.

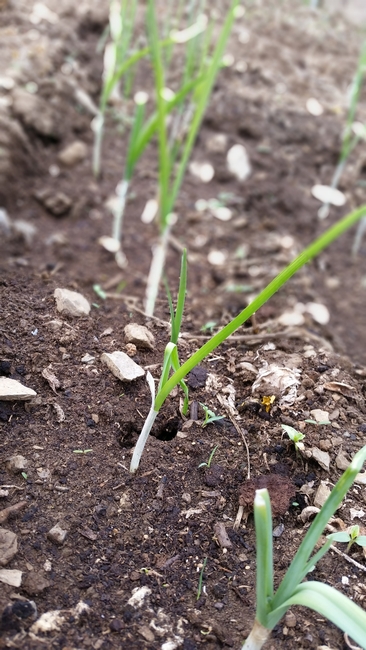
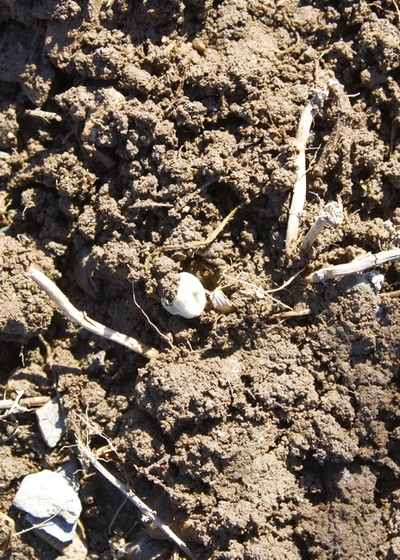
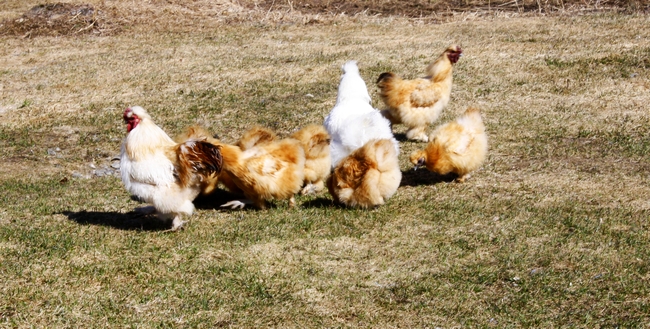
Fresh from the garden this week, I have radishes, Swiss chard, baby beets and beet greens, lettuce, arugula, boc choi, the last of the tatsoi, and the green garlic. And eggs! Lots of eggs for protein. Fresh food is worth the effort, especially after my reminder that grocery shopping is expensive.

Lincoln Leeks in the Garden {this moment}

Lincoln Leeks

{this moment} – A Friday ritual. A single photo – no words – capturing a moment from the week. A simple, special, extraordinary moment. A moment I want to pause, savor and remember.

If you’re inspired to do the same, leave a link to your ‘moment’ in the comments for all to find and see.

Leeks! They’re one of the first things we plant each spring.

Lincoln Leeks

Lincoln leeks, one of the first veggies we plant in the spring.

Gardening 2015 – Let the season begin!

Gardening 2015 – Let the season begin!

Once the warmer weather got started it didn’t take long for the snow to melt and expose the garden. Gardening has begun!

The top three inches of soil were thawed Saturday afternoon. I had some free time and a lot of seeds so I got to work. It’s much too soon to rototill so I retrieved the pointed hoe from the garden shed and made rows, disturbing very little soil. I amended the soil last fall at the end of the gardening season with leaves I raked off the lawn and aged manure from a local organic farm.

Gardening Tip:

If you do your soil testing the fall rather than spring you’ll be ready to plant when spring arrives. There are fewer soil tests ordered in the fall so the results come back faster than spring, when there’s a stack of samples in front of yours. You’ll be able to start gardening sooner than later.

My stash of pea seeds are aging. I mixed seeds saved from the 2012 growing season with 2013 and 2014. Pea seeds will germinate for two to three years if they’re stored properly. If you do a lot of gardening you can buy enough seeds to last two gardening seasons and save some cash.

Gardening Tip:

Store seeds in closed jars in a cool, dark place. 50° is optimum. A one-inch layer of rice at the bottom of the jar will act as a desiccant.

The trenches are about an inch deep; no need to be precise, they’re just peas. I seeded heavily to make up for what might be poor germination of the older seeds, to have some seedlings to fill in bare spots, and to have others for pea shoots. I’ll thin the seedlings if necessary.

Gardening Tip:

Plants need adequate room to produce to their full potential. You’ll use less seed and pick more food if you space your seeds out according to the planting instructions.

gardening season, garden, pea seeds

Poke pea seeds in after the soil settles.

I dropped all of the seeds into four rows then covered them with the hoe. By Sunday afternoon the soil was settling and a few peas were showing. By this morning (it’s Monday) more peas were out, some of them sitting on top of the settled soil. The chickens and ducks are free ranging until there’s something in the garden they can bother. I poked the peas back into the soil with my fingers, pushed soil over others, and gave the chickens some corn far away from the garden. I don’t like to keep them penned longer than necessary. They do a great job of pest control.

gardening, bantam silkies, silkie bantams, bantam chickens

A White Silkie stands out amongst the Buff Silkies. They spend the entire day roaming for insects.

Beets do well in cold soil. The soil should be 50° in the top few inches. I plant a month or so before the average last frost date. I planted a small block between metal ribs. If it were to get too cold or we had a foot of snow coming (gasp! but it happens) I could cover the ribs with greenhouse poly to keep the seedlings protected. The rows are three and a half feet long and approximately six inches apart. Beet “seeds” are a cluster of two to five seeds. Space your seeds out so each seedling has enough room.

gardeningOne of the blocks between the ribs is filled with spinach. Spinach will germinate when the soil is 38°. It will take longer at 38° than 50° and warmer but if you’ve got free time, get planting. I’ll plant another crop of spinach in early September for baby leaves in early October and mature leaves for a few weeks before I close the last of the garden in late November.

With one short row left, I returned to the house for a package of Tango lettuce seeds. I’m heavy fingered with these tiny seeds so I’ll use some of the young leaves in salad and do a little transplanting.

Are you gardening yet? What do you have planted?

Joining Homestead Blog Hop #29!

How to Transplant Seedlings

How to Transplant Seedlings

Transplanting seedlings is a matter of seedlings, supplies and patience. Knowing when to transplant is your first step. This tiny carrot seedling has plenty of room and can grow where it is five or six more days if you’re pushed for time.

Carrot seedling, how to transplant seedlings

Carrot seedling

This seedling has it’s first true leaves. You can see the heart shaped cotyledons at the bottom of the plant. The other two are true leaves. It’s time to transplant, especially if the seedlings are crowded. Spacing tiny seeds out to give seedlings adequate space for root and leaf growth is tricky.

Snow Crown cauliflower seedling, how to transplant seedlings

Snow Crown cauliflower seedling

Supplies for Transplanting Seedlings

Most seedlings aren’t particularly fussy. Vine crops have tender stems that snap easily if they are too long during transplanting, and they don’t like to have their roots disturbed. Transplant them from the starting tray into 6″ containers or the garden as soon as they have their first true leaves. They are our exception.

I move seedlings from a 1020 tray (10″ wide by 20″ long) into six packs most of the time. You can use yogurts cups and other containers you’ve kept out of the recycling bin if you’d like.

how to transplant seedlings

Pansy seedlings in a six pack

You need potting medium. ProMix or something similar, the same material you started the seeds in, will work just fine. I recommend adding worm castings or compost to the mix to give the seedlings enough nutrition to last them a month. Dampen the medium and allow it to set long enough to absorb the water it needs and drain the excess.

You might need fertilizer. If the leaves start to yellow the plants are lacking nitrogen. If they’re slow to grow they need an all-round fertilizer. I prefer to give them a weak solution of compost or worm casting tea all the time rather than a bigger dose of fertilizer occasionally. Plants, like us, need to be fed on a regular basis. They’ll slow down if they aren’t being fed.

Gently separate seedlings from each other and the seed starting medium. Leave as much medium as possible on the roots to help minimize transplant shock. Make a divot in the medium that’s larger than the roots and pop the seedling in. If you are transplanting tomatoes you can bury the stem to the first leaves. New roots will form along the stem. Growth will slow for a week or so while the roots get established but in the end it’s worth that extra week’s wait. Peppers, brassicas (broccoli, cauliflower, cabbage) and other plants that don’t form roots on the stem planting just above the roots is enough. Leave more room in the medium for roots to grow.

Gently fill medium in around the roots and when done, water all seedlings enough to settle medium and soil into their new home. Avoid direct sunlight and wind for a week to allow the plants to recover from being moved. Transplant shock can stress plants to death. If you’ve transplanted seedlings into the garden you can give them shade with floating row cover or by planting them larger plants later in the growing season. Happy gardening!

Joining Homestead Blog Hop #29!

Seed Starting Made Simple

Seed Starting

We should always keep seed starting simple. If you miss a tomato during clean up in the garden in the fall you’re likely to have tomato seedlings sprouting up in the spring. Nobody fussed over the seeds or planting them just so. They hit the ground and when the soil was the correct temperature, they germinated. Seed starting indoors can be just as easy.

You don’t need a lot to get started.

  • a container for each kind of seed you’ll start (or maybe less…)
  • starting medium
  • seeds
  • water
  • marker

I use a professional grade mix for everything. Look for “seed starting medium” or similar wording in the garden department of your local hardware store or nursery. This medium is sufficient for seedlings because seeds have all they need for nutrition to get the seedlings to their first set of true leaves.  The first “leaves” are cotyledons, a search party of sorts sent to get the work started. You don’t need to add anything but water to the medium. It’s light enough to allow good drainage and dense enough to properly cover the seeds.

seed starting

Seed starting medium

Place the seed starting medium in the container and soak it with room temperature or warmer (but not hot) water. I fill a cookie sheet with containers, spray the medium gently with the hose and let them sit for a short time. The water that drains through is eventually soaked up.

seed starting

Seeds vary in size.

A good rule of thumb is to plant the seed three times the depth of the seed. Look at the instructions on the seed packet. A pumpkin seed might need to be 1.5″ beneath the surface but a broccoli seed is going to be barely covered.

When reading the instructions on the seed packet make a mental note of light requirements. Some seeds need light to germinate.

seed starting

All the info you need for seed starting might be on the package.

Keep the medium damp but not dripping.

Be patient. Some seeds will germinate in a few days. If the plant grows well in cool weather (broccoli, cauliflower, kale, cabbage, spinach and beets, for example) the seeds will germinate quickly. If the plant needs warm soil and weather (such as tomatoes and peppers) you’ll wait longer to see the seedling pushing through the surface. I put “warm” seeds on a heat mat. A sunny window will add enough warmth to help speed germination.

Bottom heat speeds evaporation so keep an eye on the containers and water as necessary. Remove the heat mat when the first seeds germinate.

When the seeds germinates place the container under a grow light or put it in a bright window. Hang the light 1-2″ from the top of the seedling. Raise the light as needed.

Pest Control Barriers for the Garden

Pest Control Barriers for the Garden

Wes asked about pest control in a comment in last week’s blog so let’s talk about pest control barriers this week. Pests can turn a beautiful garden into a disaster in short time. Miss a day in the garden after transplanting seedlings and you might go back to stubs.

Pest Control Barriers

Barriers physically block the pest from reaching the plants. Mulch, hotkaps and floating row cover are used most often. IRT stands for Infra-Red Transmissible. IRT mulch is a plastic sheet that covers the soil. You cut or burn a hole for the seeds or seedlings you’re planting. It suppresses weeds and cuts down on pest habitat. The heat IRT gathers during the day discourages cool-loving slugs from hiding underneath and helps keep them away from the plants. It doesn’t break down and has to be removed by hand. It can be used two to three years with care. Straw, spent hay,

Hotkaps are a waxy paper cap used to cover plants or seeds. When the plant grows the top can be opened to allow the plant to continue to grow while protecting its lower leaves. They’re a dual purpose tool. They also warm the soil and protect the young plants from frost. Birds won’t clip the seedlings with their beaks and pests such as cucumber beetles won’t find the seedlings until they’re large enough to survive an attack.

Floating row cover, pest control barrier

Floating row cover on a low tunnel. Photo courtesy of Colorado State University.

Barriers do have a couple of downfall to watch out for. As much as they block pests out, they can trap them in, too. Check daily for pests like flea beetles that rise from the soil. If you mulch your plants to block weeds and keep the soil cool (broccoli, cauliflower, cabbage) you might be providing a place for slugs to hide.

garden pest barrier, cabbage worm damage

Cabbage worm and the damage it has done.

Slugs can be an easy pest to solve. Boards placed in the garden paths give slugs and pinchers a place to get out of the sun. Look under each board in the morning and discard the slugs. I feed them to my chickens. Unlike Wes, my slugs are one inch long, not four inches. <shudder>

Floating row cover keeps cabbage butterflies from landing and depositing eggs on the plants. Those eggs hatch into cabbage worms, the best that leaves holes and green droppings on your brassicas. Floating row cover also helps to prevent birds from eating your strawberries and other fruits and blocks grasshoppers, leaf hoppers and similar pests. Remove the cover long enough to allow pollination for plants that need help from bees (eggplant, peppers).

Create habitat that attracts frogs, toads and snakes (as long as they aren’t poisonous snakes, of course). The snakes sun themselves on a pile of rocks at the end of the garden in the morning then move into the garden to eat. Broken pots and small stacks of sticks provide shade for frogs and toads.

We’ll cover other methods soon. If you need to use a pesticide choose the least toxic necessary (even if it’s organic) and follow the instructions exactly. I use a pesticide called spinosad. It’s available in organic products. It must be used according to label to avoid harming bees and other beneficial insects.

Do you have tips you can share? What do you do to control pests in your garden?