Monthly Archives: April 2012

Making the Ultimate Cheese Press

We found an amazing wood worker who lives here in Chino Valley and owns a shop in Prescott, Arizona. They make beautiful furniture and cabinets. Jerri was on a mission to find someone to build cheese presses for Homesteader’s Supply. This gave us control over the wood type, control over the quality and consistency we expected from a cheese press.
We moved away from pine and into a hardwood in the Mahogany family. It’s naturally resistant to bacteria and washes up nicely with simple soap and water. We had it finished with 100% Tung Oil which is FDA approved for food contact.

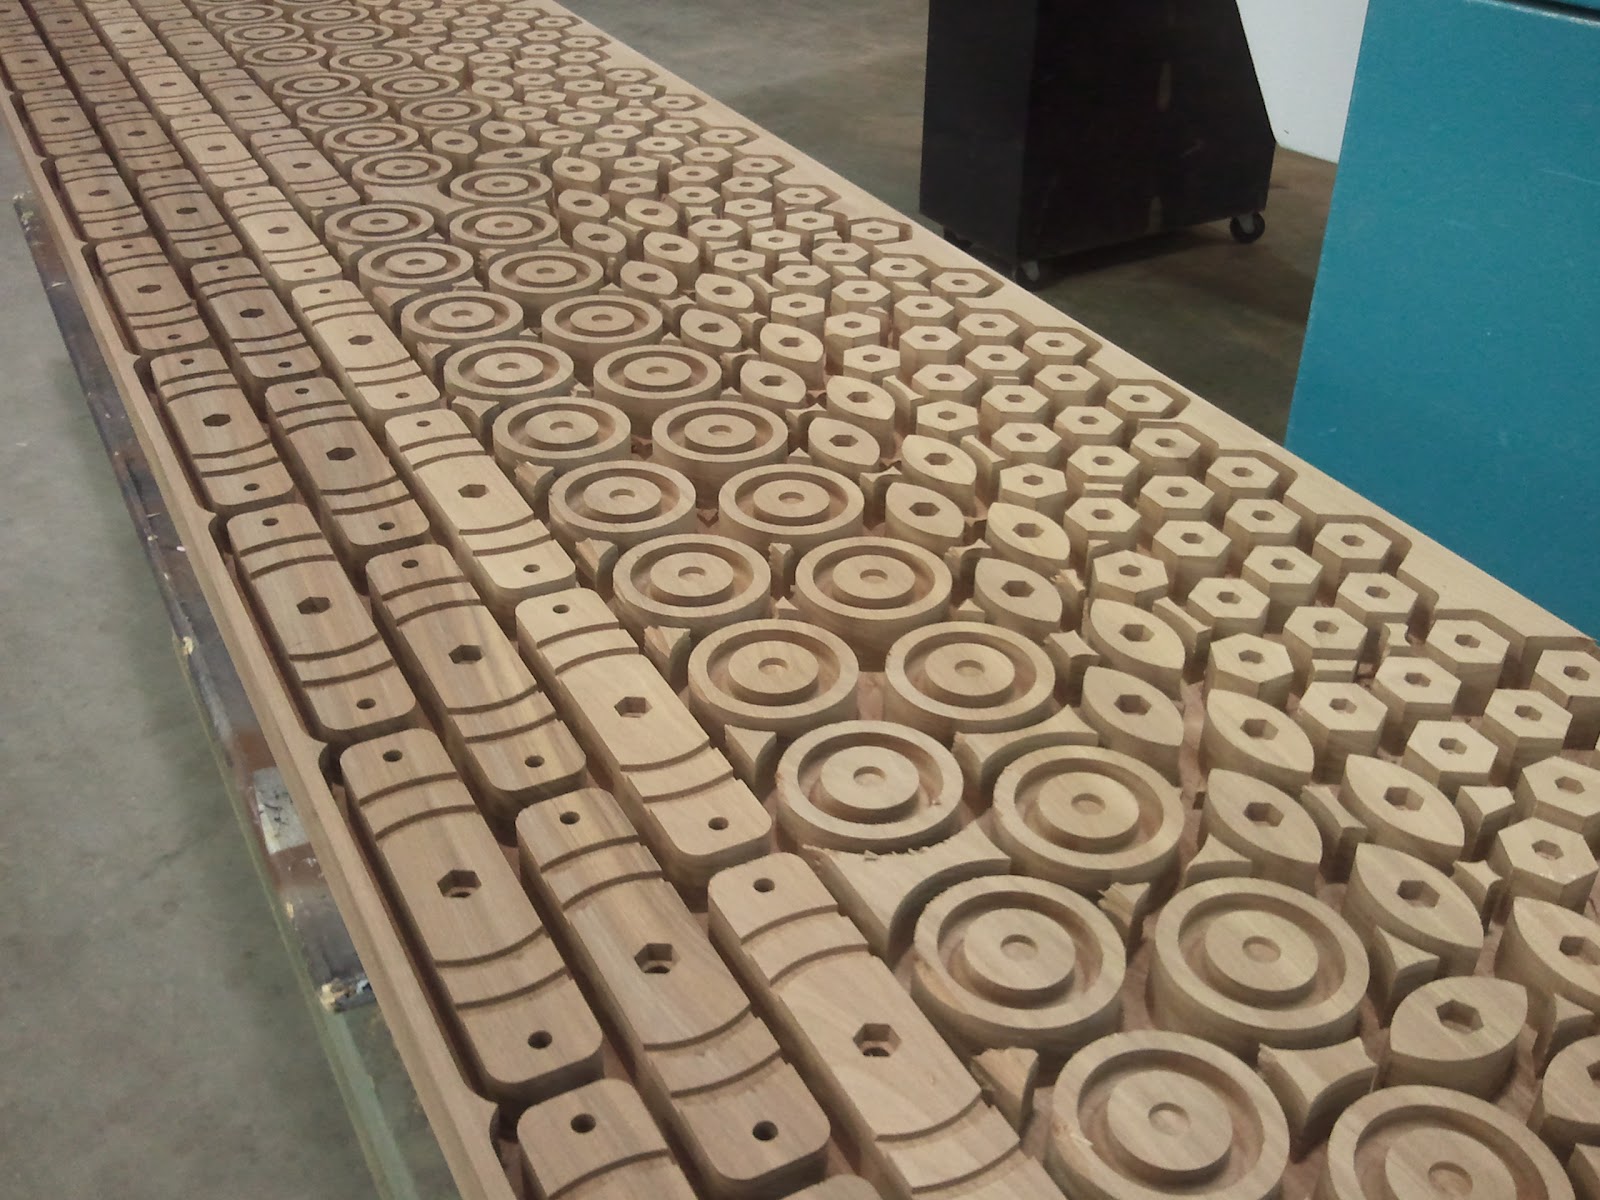
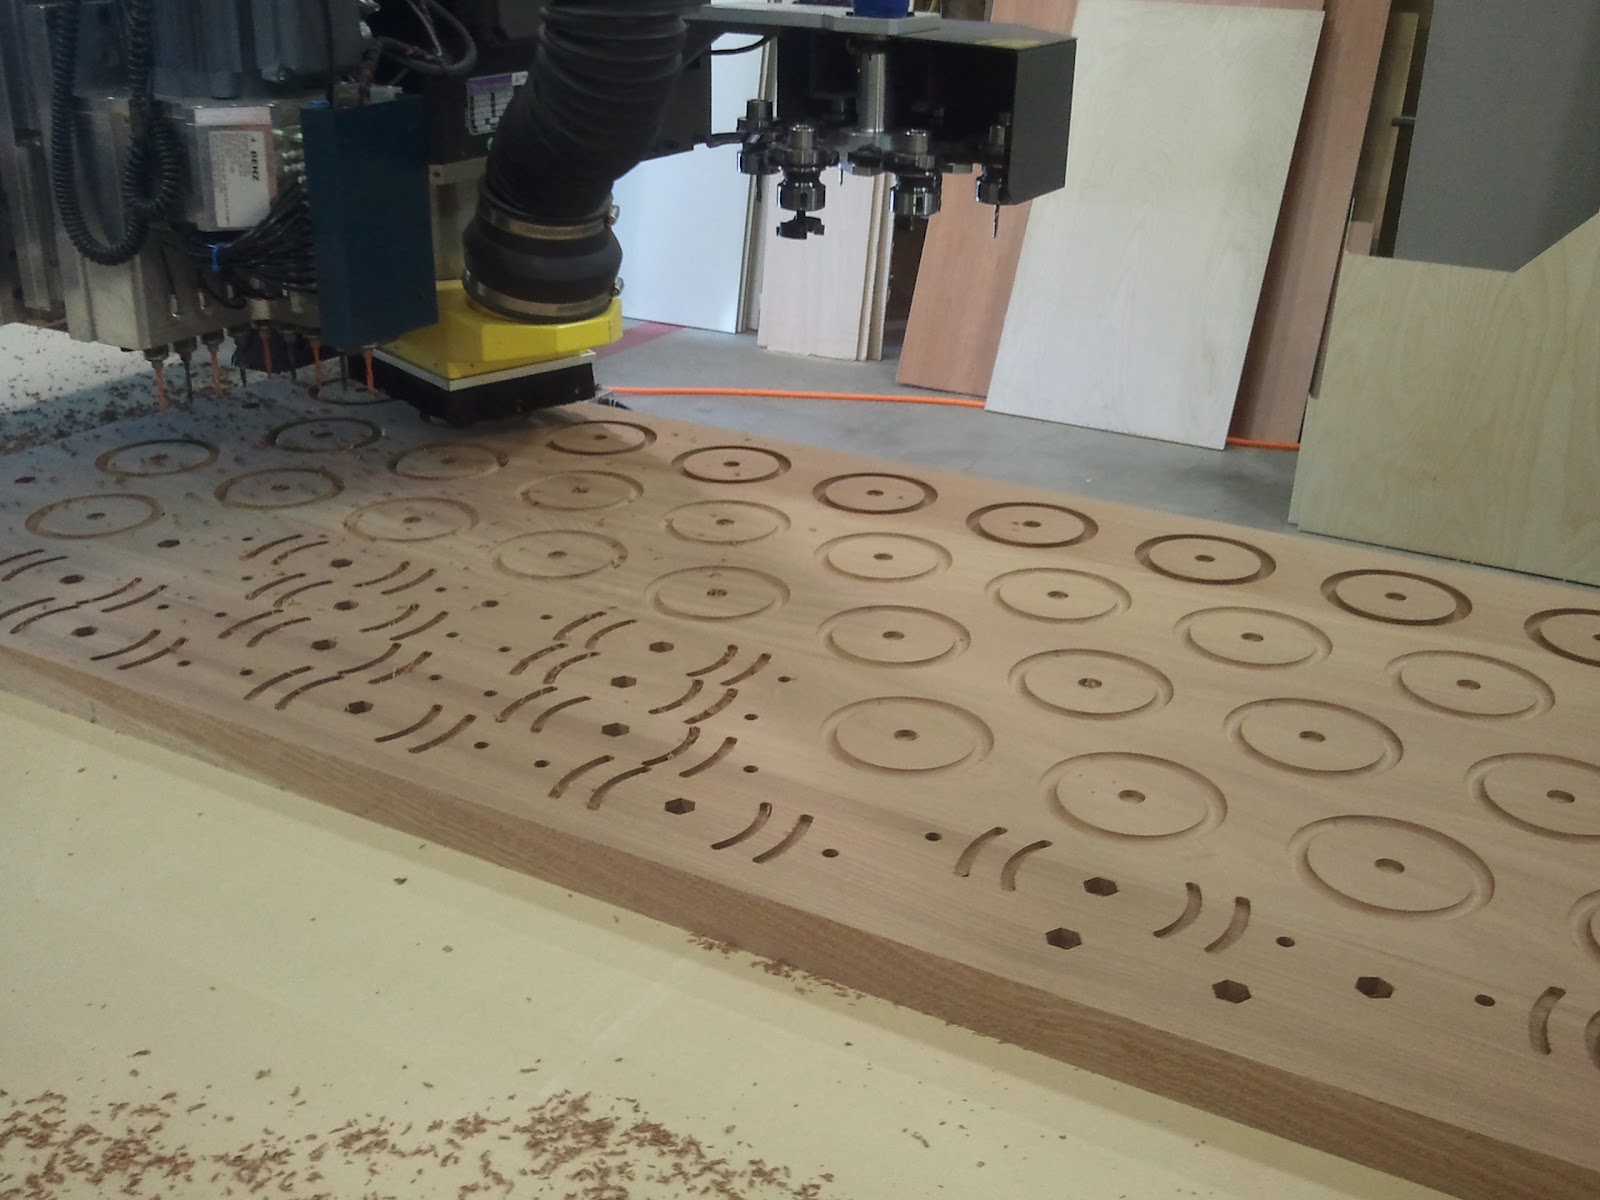
So, what’s involved in making the cheese presses? This big plate of wood took six hours to cut. The grooves were added to the bar that holds the hoops in place to keep the hoops from slipping off to the side when tightening down the follower. The knobs were designed to be easy to grip and clean. The followers were given grooves for gripping when needing to pull it out of the follower. All of these designs were developed over time when testing prototypes. It was actually a very fun process!!! After six hours, the parts were ready to be sanded free from the small bit of wood that secured them to the slab. Once they are all free, they are sanded and oiled with three coats of Tung Oil. with plenty of drying time in between. Finally the stainless steel hardware is added and the hoops are cut and sanded until ultimately….. You have the Homesteader’s Supply Ultimate Cheese Press!!!!

Homesteader’s Supply Ultimate Cheese Press

Straw Bale Gardening – Photo blog

I notice that this time of year folks start thinking about the garden… I notice the hits on the previous straw bale gardening articles goes way up and also noticed that they are a little short on photographs of the process. In this blog I will document in words and photos the garden from 2010 where I planted in bales of straw.

I went up to the feed store and picked out 20 straw bales. I arranged them in the pattern you see below. Knowing now what I didn’t know then… I’d lay them down on their side instead of standing them up like I did. They become a bit top heavy with plants growing up and holding fruits.


Next, I began the composting process. The recipe I found online called for one cup of 30-0-0 Ammonium Phosphate per bale on day one and 1/4 cup of the same fertilizer each day for 9 more days, followed by a good soaking with the hose. I could NOT find Ammonium Phosphate at any garden store so I settled for Sodium Phosphate (21-0-0) and it did the job just fine. Notice how much darker the sides of the bales are after 10 days of cooking. The insides of the bales have broken down a bit and are soggy and warm.

I took a few of the bales and cut out V grooves in there or dirt and plants… this was completely unnecessary and just bound up my chainsaw… Using a claw gardening tool made a big enough hole for the plant and some added growing material (compost). Again, the pulling out of straw below isn’t needed, just a coffee can size hole where your plant will live or sprinkle seeds on top of the bale and cover with dirt and straw works fine too.


Below is where I added soil to the V shapes I cut out. After I planted in the bale, I covered with some of the loose straw and soaked well..

Now it’s finally taking form!!! See the happy pepper plants spreading out their roots in their new home!

As you’ll see in the photos below it was a very successful adventure. As I said above, if I do this again, I’d turn the bales on the side for added stability. You can see below that some of the bales aren’t doing so well with top heavy plants. The cucumbers were alone the fence in the back for climbing. Peas and green beans didn’t do well in this growing medium… they are nitrogen fixers and in an already nitrogen rich environment, I didn’t enjoy very many peas. Lettuce, cucumber, tomitillo, cilantro, carrots, tomatoes, peppers all did very well.


I hope you find this helpful in your decision on growing in straw bales. It does save the back… but I will admit to growing in the ground the following year… I had to do something with all that composted straw so I pulled all of the twine and tilled it right into the Arizona clay…

Happy Homesteading!!!!

Nance

Cookie has COOTIES!!!! ok… Lice… or Mites….

I know it’s been awhile since I’ve blogged… time seems to skip a few beats when spring is arriving and so much needs done on the farm. One of those things gave me the idea for this blog… Cookie has COOTIES!!!! Actually, she has small bald dots on her face. I noticed it one day about a week ago and thought she was rubbing her cheek on the fence… she does that when she’s shedding really bad and it itches her. Then I noticed some bare patches behind her ear, though I thought still it could be scratching. Yesterday was when I began to suspect bugs… not because I saw bugs or saw eggs… but because she developed small bald dots where bald dots would be hard to get from scratching on a fence…. between her ribs! So, off to the feed store I went in search of Ivomec Eprinex pour on. Yes… we do carry it on the site, but we were waiting on stock to arrive and my girl had BUGS!!! So, I go to Olsen’s and they are out too!!! I know D.E. is the organic way to go… and I have a fifty pound bag… and I get that if applied every day for ten days that it should take care of the little critters… but COOKIE HAD BUGS!!!! (I’m not a big fan of eight legged critters that suck on blood) Needless to say, the lady at the store offers me Ivomec injection which I quickly point out to her explicitly states NOT TO USE ON DAIRY COWS! So I dug through the shelf until I found a powder that was safe for dairy cows and had zero milk withdrawal… main ingredient is D.E.! LOL (D.E. is diatomaceous earth which is a long way of saying ground up coral which is so fine it injures the bugs when ingested.) So, Cookie has been dusted and will be treated with the Ivomec Eprinex when it comes in next week. I’ll take new pictures once I figure out that the bugs are gone and the hair is growing back. Here’s to a less buggy spring!!! Keep your fingers crossed that the bugs are doomed!!

Happy Homesteading!!!