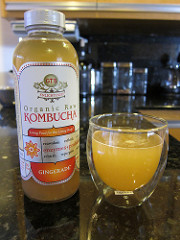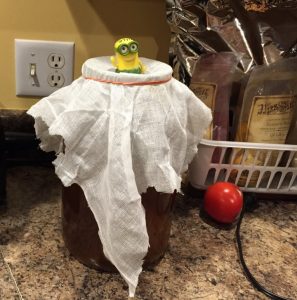
Freshly made Kombucha fermenting on the counter with a happy minion!
The weekend right after Thanksgiving was my time to start thinking about healthy eating again. Right after the all the stuffing, and potatoes, and pies, and ice cream… guess I don’t have to go on, you probably get the drift.
About 2 weeks ago a friend gave me a scoby, or starter culture for making Kombucha. I watched him drinking Kombucha every time I saw him. Then of course, I had to start buying it again at the grocery store which can get expensive. I love the different fruit flavors and the fizz. It reminded me of how delicious my Kombucha was when I made it about a year ago, but as usual, I got so busy I stopped making it. I bet all of us have had an experience like that… dropping something that is good for us because of the “I’m too busy” reason.
Now that my fresh Kombucha has fermented for about 10 days or so, it was time to bottle it up. I had just shy of one gallon of Kombucha which filled five 16 ounce e-z flip or grolsch bottles. So I thought I’d share my recipe and process so you could see how relatively easy it is.
What you need to for making Kombucha
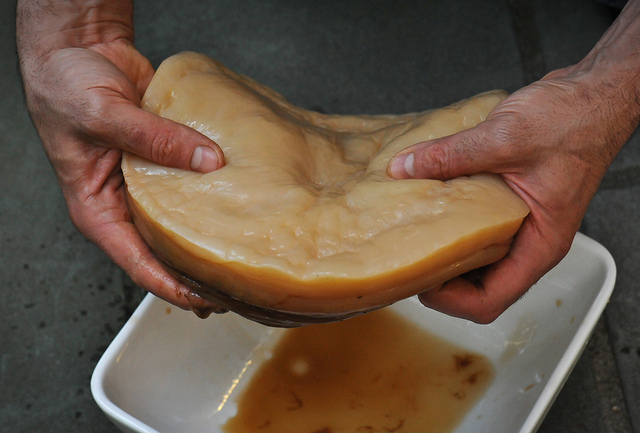
- 1 Kombucha Scoby or mother culture… you can buy them or get someone to give you piece of theirs
- 1 cup of raw organic sugar or coconut sugar
- 3/4 gallon non-chlorinated drinking water
- 2 tbsp fresh tea leaves ( I use English Breakfast Tea) (or you can use a decaf tea like Rooibos)
- 1 cup of starter tea ( the liquid that comes with the Scoby or mother culture)
- Gallon jar
- Stainless Steel strainer/filter
Brew your Kombucha
- Bring the water to a boil, then turn off the heat.
- Add your tea to the hot water and let it steep for 10 minutes. I place my tea into the middle of a piece of cheese cloth, then bring up all the corners and tie it closed. This method makes it easy to remove the tea from the water after 10 minutes. Otherwise you can put loose leaf tea into the water and then strain it out.
- After 10 minutes, remove the tea. Then slowly add the sugar into the water, stirring to make sure it all dissolves.
- Pour the tea into your brewing bottle or container. We use a one gallon glass jar.
- Let the the tea cool down to room temperature.
- At room temperature, slowly add the Scoby or mother culture along with 1 cup of the starter tea that came with it.
- Cover your jar with cheesecloth, secured with rubber band. Wait about 4 days and then start tasting your Kombucha. Each day taste it until you find a flavor you really like. Remember, it shouldn’t be sweet, as the sugar is used up in the fermenting process.
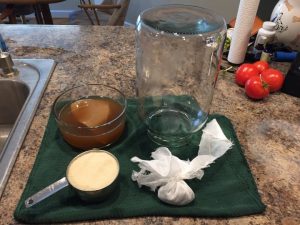
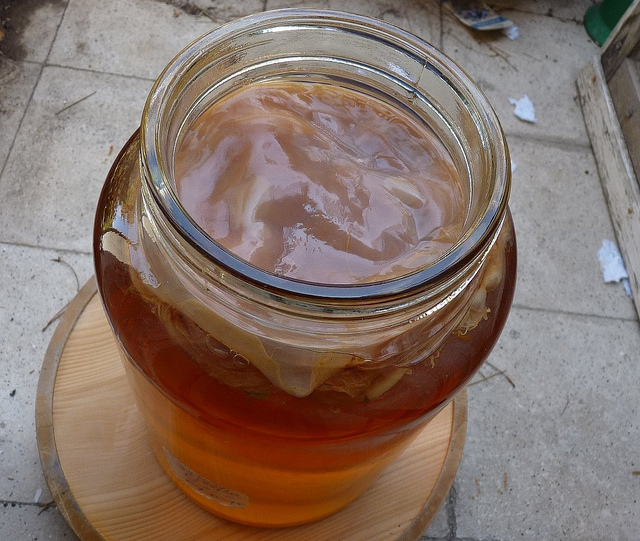
Mother Culture, cup of raw sugar, gallon jar, and tea ball.
I allowed mine to ferment for about 10 days. I could see some bubbles at the top, and I could see that the mother culture was now floating on top… a good sign.
Bottle your Kombucha to make fizzy drinks
- Clean and set up your E-Z Flip or Grolsch bottles.
- Cut up pieces of fruit to flavor your Kombucha fizzy drink. I always use about 1 tbsp of cut up fresh raw ginger in every bottle. Then I add some different fruit in each one. I use freeze dried fruit, seems to work perfect for this process. This day I used some raspberries, apple, peach, and apricot. You only need about 1 tbsp of cut up fruit to each bottle. I love to have a variety to choose from. You can use fresh fruit too! Have fun and experiment!
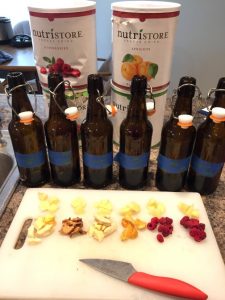
Adding fruit to your bottles!
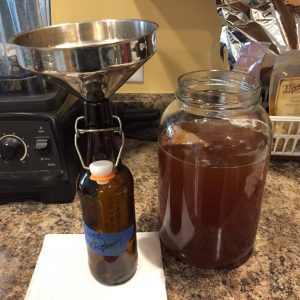
Filtering when filling the botles!
- Place a filter with a stem into the bottles. Pour your Kombucha into the filter and allow it to drain into and fill the bottles. Cap your bottles securely.
- Made sure you leave at least a cup of Kombucha tea along with your Scoby to start the next batch.
- Place tape on each bottle and label the fruit you added along with the date it was bottled.
- Leave bottles on the counter at room temperature for about 4 days. Then place into the refrigerator.
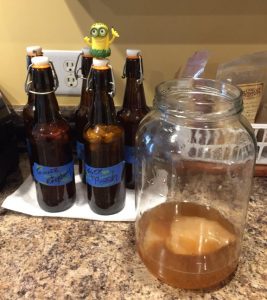
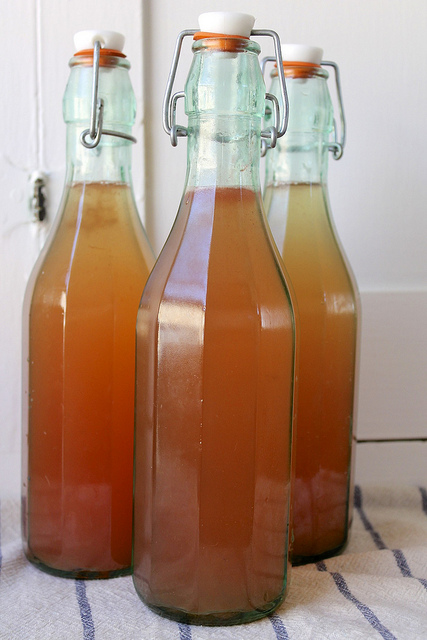
Bottles Full, Ready to make more Kombucha!
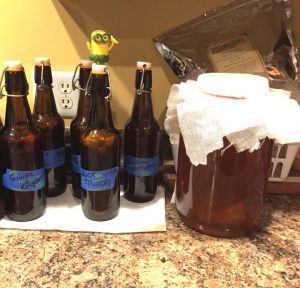
Happy Kombucha!
When you open your bottles of Kombucha, you will enjoy a variety of fizzy fruit flavored beverages that are so enjoyable to drink and healthy for you too! Enjoy… jerri