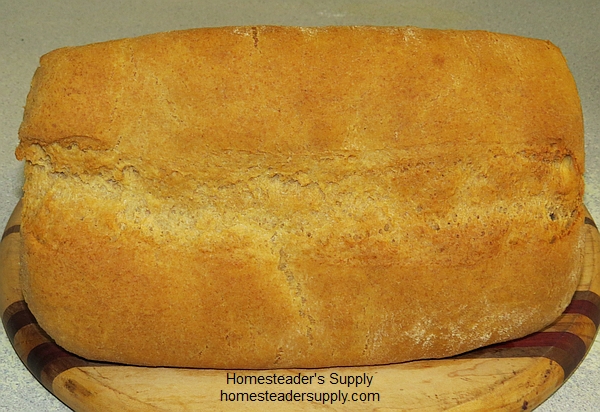
Sourdough bread isn’t supposed to be quick. The starter should ferment until its full flavor develops. The bread should rise slowly in a cool room to allow more flavor to develop. Those air pockets created by the yeast, the ones that hold globs of your butter or olive oil or jam, need time to grow. It’s all very lovely and tasty when you have time to wait, but that’s not how my day is going.
It was 2 pm before I realized we’re out of bread. Normally I mix up my starter, the water, some organic whole wheat flour and unbleached bread flour around 4 pm. I mix and knead by hand, feeling the dough as it changes, knowing exactly when to stop kneading. Then it sits in the bread pan I’ll bake it in, on the counter by the cool outer wall of the kitchen to rise overnight. First thing next morning, around 4:30, I pop the bread into a 400* oven, but that’s not how my day is going.
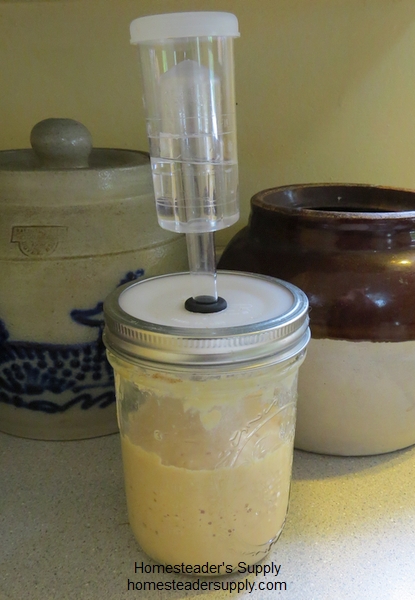
Pickle-Pro sourdough starter
Today I’m making quick and simple sourdough bread so that I can have it with dinner. My starter is kept in a pint canning jar with a Pickle-Pro lid. It’s been the best starter I’ve used. The airlock has kept alcohol from building up on the surface of the starter if I don’t use it fairly quickly.
Sourdough Bread Recipe
Oven: 400* Bake for 30-40 minutes
1 cup sourdough starter
1 cup warm water, around 100*
1 1/2 cups organic whole wheat flour
Approximately 3 1/2 cups bread or all-purpose flour
2 tsp yeast
I used the mixer today so I could let the mixer do the kneading and unload the dish washer. Use the kneading hook. Add sourdough starter, warm water and yeast to bowl. Turn mixer on and add the whole wheat flour in 1/2 cup increments. Add bread or all-purpose flour in one half cup increments. For the last cup of flour, allow the mixer to knead for a minute. Turn off the mixer and touch the dough. It should be moist but not sticky. The dough should pull away from the sides and be wrapped around the hook. If the dough is sticky add 1/4 cup of flour, knead and check. Experienced bread makers will “just add it” and know when they’ve reached the right look and texture.
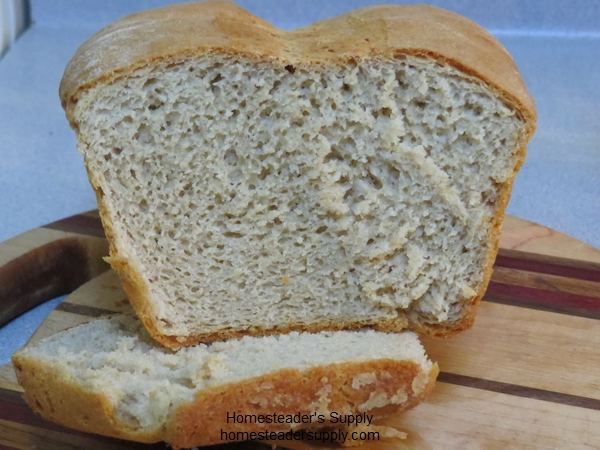
Oil two bread pans with olive oil or butter if necessary. Today I need bread for sandwiches so I’m not looking for a loaf with a big rounded top. I like a wide loaf with a flat top so that a slice holds a nice amount of sandwich filling with one slice of bread. Remove the dough from the mixer and set aside to rise until it has doubled in size. Gently slice the dough in two and shape into two loaves. I don’t knead, just separate and shape. Allow to rise the second time. It’s ready for the oven when you gently press on the firm dough and it recovers slowly.
Make a slice down the center of the loaf (two slices if you’re making a round loaf) and spritz it with water. The slice and the water allow the dough to rise easily, forming nice pockets. If the crust starts to dry out, spritz it again.
It’s conveniently chilly and damp today so the wood stove is going this afternoon. I’m breaking my slow rise rule and put my bread on the clothes rack in the warm living room to rise quickly.
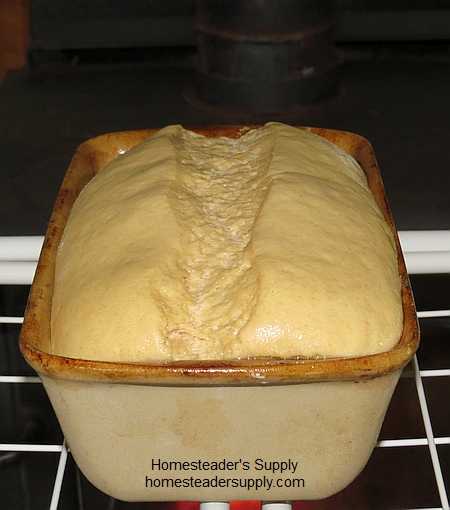
Sourdough rising. This is almost high enough for the size loaf I’m after.
 While the dough is rising I mixed up another batch of starter. I use the same jar or scrape the last tablespoon or two of starter from it and add it to a new jar. The only time I don’t have starter in the jar is on the original batch. Notice how much lighter in color this new batch is compared to the one above. As it ages and develops it becomes darker. This jar sits in a cool spot in the kitchen. I don’t tend to it daily. Tomorrow morning it will be at the top of jar. I’ll stir it down if necessary but otherwise it’s on its own until I use it in a day or two.