Category Archives: Canning

How to Avoid Canning Disasters

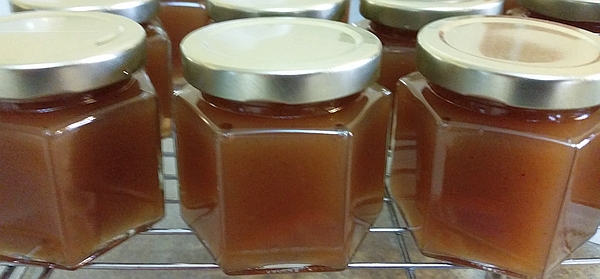
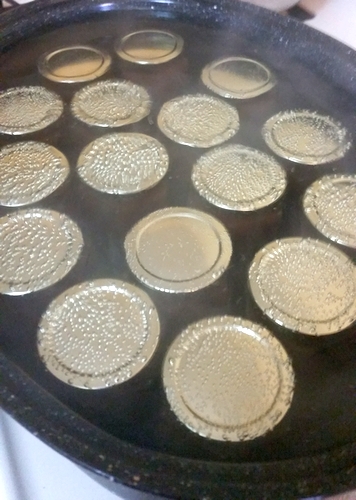
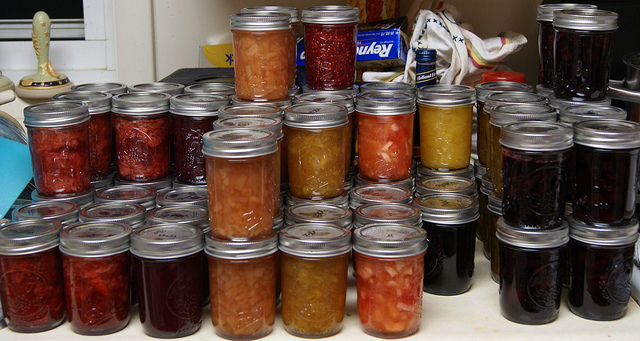
When I was a little girl, canning day in my grandmother’s kitchen was practically a sacred event. Every year, as summer drew to a close, Grandma got her canning supplies out of storage and went to work putting up her mouthwatering relishes, piccalilli, pears in cinnamon syrup and, if we were lucky, the wild mushrooms we’d foraged in the woods the previous day. I remember my grandmother being almost obsessive about sterilizing her jars and lids. She inspected each jar of food with an eagle’s eye to make sure the vacuum seal was good and tight “so nobody gets sick.”

jelly jars

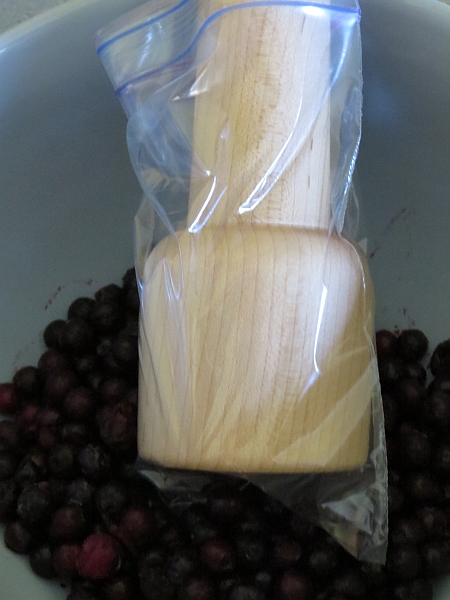
From time to time, one of my grandmother’s friends from the Old Country would drop by with a jar of home preserved mushrooms. Among the old women in her circle, giving away some of the wild mushrooms you’d picked and canned yourself was akin to giving away some of your gold. Grandma always made an appropriate show of receiving these precious gifts—and then rushed off to toss them in the trash as soon as the gift-giver left. I’d stare at her, wide-eyed and pleading, every time she deposited one of those coveted jars of wild mushrooms in the giant barrel behind the house. “So nobody gets sick,” she would say. Because Grandma never trusted anyone else’s canning skills, I developed a healthy respect for the science of preserving foods at a very young age.

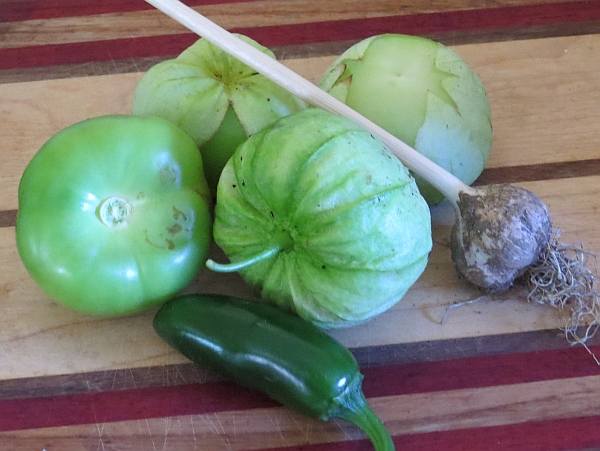
Today Grandma’s canning methods are no considered longer state-of-the-art. What’s changed since then? Well, genetic engineering, for one thing. Modern tomatoes are less acidic and more disease resistant, for example. In addition, food science research has brought about the development of newer, safer preservation techniques. It turns out that Grandma’s boiling water bath wasn’t the safest way to preserve those wild mushrooms after all. If she were putting up mushrooms today, she’d be using a pressure canner. Thank goodness Grandma was so careful. Had she been less diligent, we all might have gotten sick—or worse.

Where Things Can Go Wrong

Perhaps you had a Grandma who passed her canning recipes down to you, too. If so, be sure to consult a trustworthy resource for current canning guidelines so you can adjust the outdated instructions for your heirloom recipes. The USDA’s Complete Guide to Home Canning is often recommended.

Fresh fruits and vegetables contain enzymes that go to work breaking down the food as soon as it’s harvested. Spoilage can also occur as a result of oxidation. We’ve all seen a cut apple turn brown when it’s exposed to air. During the canning process, heat stops the action of enzymes and causes oxygen to be expelled from the jars, which prevents the preserved food from spoiling. Heat also kills microorganisms such as yeasts, molds, and bacteria. But this is where it gets tricky.

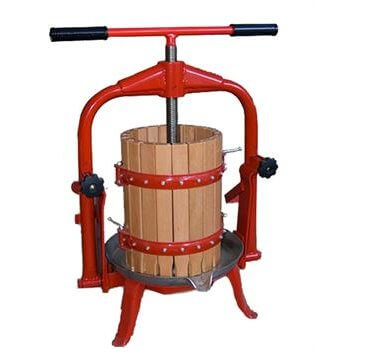
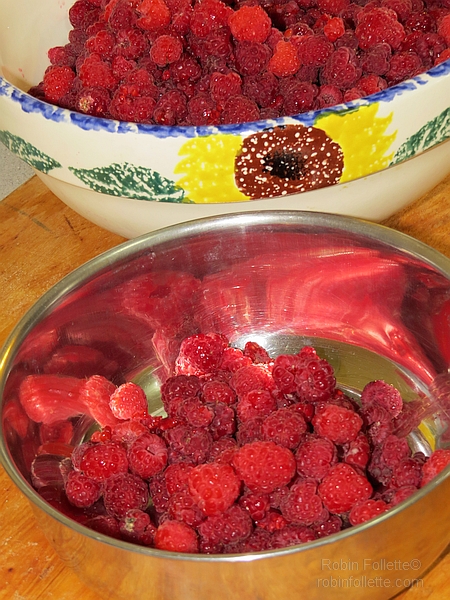
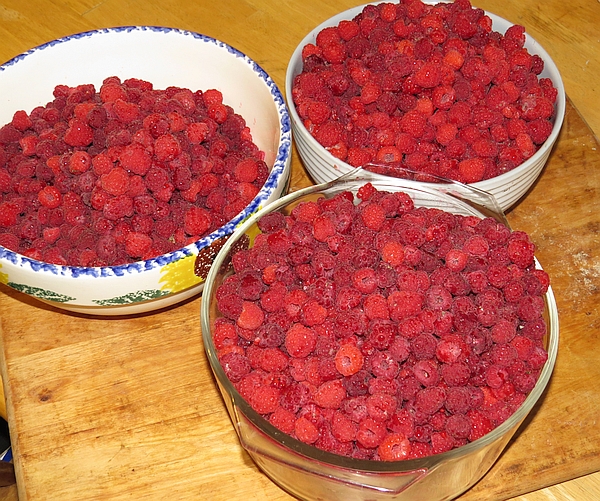
One type of bacteria—the (sometimes) deadly botulism toxin—thrives in low acid, low oxygen conditions and can survive being boiled at 212 degrees Fahrenheit. Meats and vegetables, including Grandma’s wild mushrooms, are low in acid, which makes them particularly susceptible to botulism. To preserve these foods safely, you need a pressure canner which, unlike a boiling water bath, can reach temperatures high enough to kill botulism (over 240 degrees).

How to Tell If the Food Has Gone Bad

Even when you’re as diligent as my grandmother was about following proper canning techniques, home preserved foods occasionally spoil on the shelf. Always inspect each jar carefully before consuming the contents. Examine the exterior and look for a broken seal, chipped glass, a bulging lid, or leaking. When you open the jar, check for signs of spoilage such as an “off” odor or color, or a layer of green or fuzzy mold growing on the surface of the food. If you suspect the food is spoiled, THROW IT OUT! Do not taste it or attempt to salvage the contents by scraping off the mold or cooking the food a second time.

moldy sauce

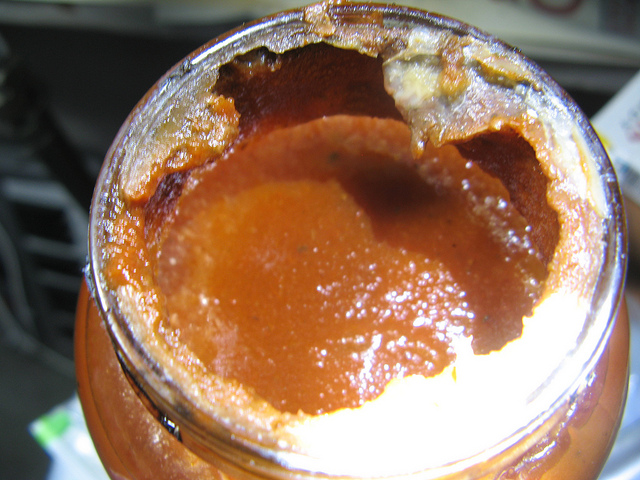
Jars of food that show no signs of spoilage can still be contaminated with botulism, which is why my grandmother threw away the home preserved mushrooms she received as gifts. Botulism is odorless, colorless, and tasteless. So take Grandma’s advice and dispose of any low-acid foods that were canned improperly, even if they show no signs of spoilage. DO NOT eat preserved low-acid foods under any of the following circumstances:

  • The food wasn’t processed in a pressure canner.
  • The temperature gauge on the canner was inaccurate.
  • Well-researched and up-to-date processing times and pressures were not used.
  • Ingredient proportions were changed from the original recipe.
  • The processing time and pressure were not appropriate for the altitude at which the food was processed.

Worst Case: Botulism

If you suspect a jar of low-acid food is spoiled, always assume it’s contaminated with botulism. Be sure to following special handling procedures for disposal. If the jar is still sealed, place it in a heavy-duty plastic garbage bag and tie it closed. Take the bag outside and place it in the trash bin, or bury it in the ground under at least two feet of soil. If the seal is broken, or if the jar is open or leaking, the jar and its contents must be detoxified before you disposal. After detoxification, you’ll need to clean up any surfaces that came into contact with the contaminated item, including countertops, can openers, or clothing.

How to Detoxify Contaminated Jars

  • Wear rubber gloves.
  • Place the jars and lids on their sides in a large pot or canner.
  • Wash your gloved hands.
  • Add hot water to approximately one inch above the jars. Be careful not to splash, as this will spread contamination.
  • Put a lid on the pot and heat to boiling.
  • Boil for 30 minutes.
  • Cool and then throw the containers, lids, and food in the trash or bury everything in the ground under two feet of soil.

How to Clean Contaminated Surfaces

  • Wear rubber gloves.
  • Mix up a fresh solution of 1 part Clorox (5 to 6% sodium hypochlorite) to 5 parts water.
  • Spray surfaces with the bleach solution. Let stand 30 minutes.
  • Wipe down the treated areas with paper towels, then place the paper towels in a plastic bag before throwing them in the trash.
  • Treat all affected surfaces with the bleach solution a second time. Let stand 30 minutes, then rinse.
  • Wash all detoxified surfaces and clothing.
  • When finished, throw the rubber gloves in the trash.

Women washing hands in white sink good suds

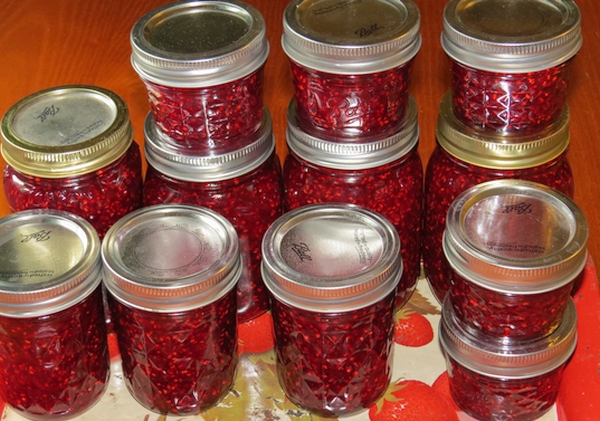
Home preserved vegetables are the most common cause of botulism outbreaks in the United States. But there’s no need to worry, as long as you preserve the foods using correct, up-to-date methods and take care to inspect the containers for signs of spoilage before consuming the contents.

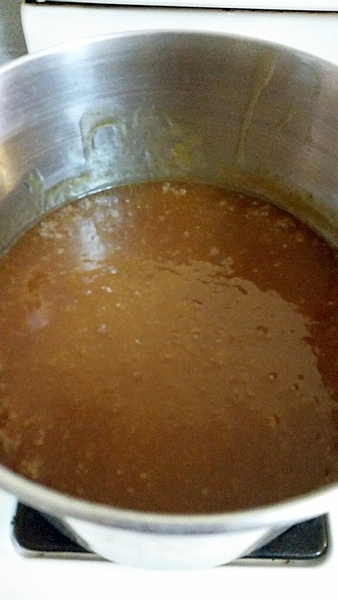
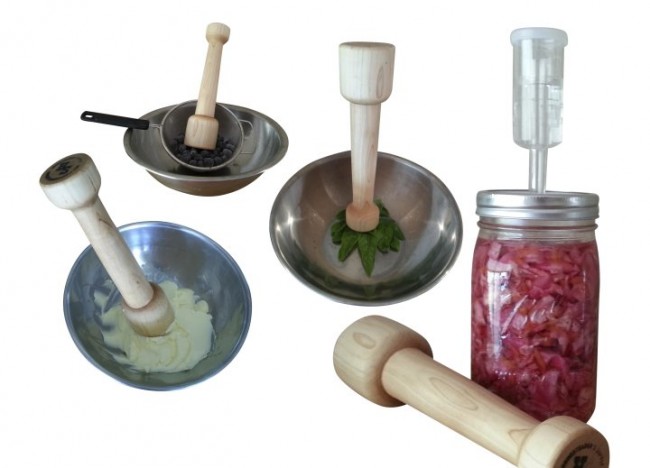
Why not make canning day a special event at your home, too? Involve the whole family! Children love “helping” in the kitchen. For them, canning is fun, educational, and a wonderful way to make memories they’ll cherish forever. By preserving your own foods, you can enjoy the bounty of your farm and garden all year long. Canning also saves you money and minimizes waste. You can preserve any extra food you can’t use right away when a bumper crop comes in, or when you slaughter livestock. And when your local supermarket has a big sale, you can stock up without worrying that it might not all fit in your freezer. If you’re a prepper or live off the grid, you’ll appreciate the convenience of long-term food storage without need for electricity. Sure, canning is work and requires time, a few pieces of special equipment, and a little research up front. But when your family is sitting at the dinner table in the middle of January enjoying a scrumptious sauce made from last summer’s sweet tomatoes, you’ll be so glad you made the effort.


Authored by Anna Paige

apple cider jelly recipe

Making Apple Cider Jelly

Apple Cider Jelly

Growing up, apple jelly on a toasted English muffin was one of my favorite breakfasts. When I discovered a recipe for apple cider jelly on the internet a few years ago I knew it was going to be my new favorite. I bought a gallon of fresh pressed cider and got to work. It took me several tries to get apple cider jelly right, and we ate a lot of ice cream with apple cider topping (code for jelly that didn’t set up). Apple jelly from the crab apples on my ancient tree was much easier. I couldn’t figure it out.

A neighbor came to pick apples and we talked about my apple cider jelly problem compared to the simple, dependable apple jelly. “Do you simmer peels in the pot,” she asked? I didn’t. I learned that day that there’s a lot of pectin in apple peels. I peel two apples, simmer the peeling in the cider, and remove the peels before pouring the jelly into jars. Problem solved.

apple cider jelly, recipe, hot water bath

Waiting for the jelly to come to a boil

Apple Cider Jelly Recipe

4 cups apple cider of good quality
3 cups sugar
2 oz pectin
Peelings from two medium apples
(Optional) 1-2 teaspoons apple pie spice or a combination of cinnamon, nutmeg, cardamom

Add the peels to the cider at the start.

Mix spices into sugar if you’re going to make spiced apple cider jelly.

Methods of making jelly and jam vary between brands of pectin. Follow the directions provided in your pectin. Remove peels before pouring the jelly into jars.

apple cider jelly, recipe, hot water bath

Hot water bath

Preserving with Pomona's PectinOld school canning told us to fill the jars, cover the jelly with paraffin wax and allow to cool before adding a cover. Another formerly accepted method didn’t use paraffin. We tightened the jar lid and turned the jars upside down until they sealed. We know now that these aren’t the best methods. You’ll find great information including how to hot water bath your jelly in Preserving With Pomona’s Pectin by Allison Carroll Duffy.

apple cider jelly recipe

Apple cider jelly

A homemade biscuit or English muffin with a pat of homemade butter and jelly or jam is one of my favorite breakfasts in winter.

Fruit Presses & Apple Cider Season

Fruit Presses & Apple Cider Season

It’s apple cider season! Not the apple cider that’s been stored somewhere for who knows how long before put out on the store shelf. It’s the season of picking, crushing and pressing fruits to make cider. We offer a variety of fruit presses!

Apple & Fruit Crusher - Fruit Presses

Apple & Fruit Crusher

Let’s start with the Apple & Fruit Crusher for hard fruits. Before you press your apples or pears you should break them up. If you have just a few you’ll be fine cutting them into quarters or halves depending on size, before you put them into the press. More than that and you’ll spend a long time cutting.

The Crusher mounts easily on a table top. I’ve seen it mounted between two saw horses. Whatever works for you is great. It’s that simple.

I love the old-timey look of the Crusher with its bright red color and old fashioned handle.

Fruit Presses - Hopper for Fruit Crusher

Apple & Fruit Crusher Hopper

The Apple & Fruit Crusher is easier to load when you add the wooden Hopper. It’s sturdy, easy to put together, and holds a peck of apples at a time. Pouring the apples into the Hopper will save you time and a lot of bending to pick up fallen fruit.

We offer Fruit & Wine Presses from a reputable company called TSM. They’ve combined the old time feel of hand cranking and beautiful presses with modern technology. The baskets are made of oak grown in the USA! Each press comes with a filter bag except for the Deluxe Stainless Steel Press which doesn’t need one.

Fruit Presses

The Harvest Deluxe Fruit & Wine Press is my favorite. It holds 4.7 gallons of fruits. It’s sturdy, mounts to a wooden base for added stability, and has padded hand grips. You’ll be able to press your hard fruits as well as grapes and other soft fruits. The juice drains from its spout into your container.

We also have the Harvest Apple Fruit & Wine Press that holds 4.7 gallons of fruit, and its larger model that holds 8 gallons of fruit. If you prefer a ratchet model you’ll find it here.

You can drink your juice fresh or turn some of it into cider. We love to cook with cider. One of our dishes is pulled pork that has been slow cooked in apple cider.

Apple Cider Pulled Pork Recipe

4 pound pork butt
2 cups apple cider
1/4 cup cider vinegar
1/4 cup brown sugar
1 tablespoon apple pie spice

Add everything together in the slow cooker, set it on low, and let it cook for at least eight hours. It will pull apart with a fork as you take it out of the slow cooker.

Time Management Tips for the Homestead

I love reader questions. Did you know that? I love to open a reader’s email and see what they have to say. I’m going to answer a question here.

“You talk about having a lot to do this time of year but you haven’t told us everything you do. What do you do and how do you fit it all in?” ~Rhonda

Raspberries freeze well

Raspberries freeze well

This time of year feels like it’s busier than others but in reality, I’m probably feeling more rushed. Homesteading can be a full time job and if you’re already working a job, it can be stressful.

The first killing frost is hanging over our heads any time after the first week of September. It might be early or it might not happen until October. The first frost could come early and then we’ll be frost free for weeks. It’s too late for the tomatoes, squash, cucumbers and other warm season crops once they’ve been frost killed no matter how good the weather is after so there’s the rush to force the plants to produce.

The late raspberries are ripening and the wild blackberries are still going gangbusters. Making jam and jelly is simple but it’s time consuming. I have more time in the winter than right now they’re being frozen in a single layer on cookie sheets. I don’t think these berries make the best jam after they’ve been frozen but freezing them makes it easier to make jelly. They skins burst when they’re frozen so they let go of the juice easily as they thaw.

  • Tip: Freezing strawberries saves time during the summer. You’ll make thicker jam with less pectic and sugar and have juice for jelly when the berries thaw.
Deluxe Stainless Steel Food Mill

Deluxe Stainless Steel Food Mill

Apples don’t have to be sauced, jellied, pied or otherwise put up immediately. You have at least a few weeks, and sometimes months, to get them processed. I picked a bushel of apples one day last week. They were roasted another day and then stored in the fridge. On day three I put them through the food mill (if you don’t have a food mill, you need one). I warmed the apples turned applesauce on the stove, added sugar and spices, and hot water bathed the batched. It took a little time on each of three days but I didn’t have enough time in one day to do it all. Do what you can when you can and it will come together. A little time here and there resulted in 18 pints of sauce.

Salsa Verde Ingredients

Salsa Verde Ingredients: tomatillo, Jalepeno pepper, garlic. Missing – onion and cilantro, to be pulled and picked in a few days.

  • Tip: If your tomatoes are not ripening fast enough you can push a spade into the ground around the roots to stress the plants. Cut 12 inches from the base of the plant, severing the roots. A plant’s mission in life is to reproduce. You’ll speed up ripening this way.

The garden is still producing well. Tomatoes, eggplant, tomatillos, squash, pumpkins, cucumbers, kale, cabbage – just about everything is still growing. It all has to be weeded, watered when we don’t have enough rain, picked, preserved or stored – you know how it goes with the garden. This morning I picked close to a half bushel of tomatillos for salsa verde. It’s also hunting season. I can’t put hunting in the freezer so move over berries and vegetables, the tomatillos are coming in. Tomatoes can also be frozen. I like having the warmth from the oven early in the morning on a chilly day as the tomatoes or tomatillos roast. An hour or two with the oven on replaces the small, hot, quick burning fire I usually build on a late fall morning.

  • Tip: When your pumpkins and winter squash start to get soft spots, clean them up and roast them first thing in the morning, then freeze the flesh. This is usually a mid-winter project when I start checking on vegetables stored in the root cellar.

Firewood is weighing heavily on my mind these days. It was delivered late so I’m rushing to get it split and stacked to dry. Best made plans and all, I couldn’t depend on someone when it came to firewood so I was stuck with making the best of a bad situation. It happens. I’m working on eight cords of beach, ash, maple, yellow birch and white birch. The hydraulic splitter makes the work a lot easier but it’s still not an easy job on a hot, late summer day.

  • Tip: Secure next year’s firewood supply now and ask that it be delivered in spring. We burn up to six cords a year. I buy eight cords a year which means we a year “off” now and then without the expense and work, and won’t run out of wood.

Pigs, ducks and chickens are growing out back. They’re turning grass, insects, weeds, food scraps and a few commercial pellets into meat that will feed my family. Portable fences and chicken tractors need to be moved daily. Two people moving fencing takes me a third of the time it takes when I have to do it alone. Ask for help.

When did the paint start peeling off the hen house? I swear it was fine yesterday. Or I was too busy to notice. I’m not sure it’s going to get painted before the snow flies. If there are a few extra dollars I might hire someone to do it for me. It would take someone who likes to paint less than a day to do it. It takes me more than a day to fumble through scraping and painting. We can’t always do it all. Remember when you first started to daydream of homesteading? It was so idyllic. You’d spend days outdoors in the beautiful weather doing your chores? The mosquitoes weren’t part of my daydream. Neither was heat rash. Rainy days would be spent inside, cooking and ready. Painting the hen house was not in my day dream.

  • Tip: Neighborhood kids are often willing to do some work if you pay fairly, and you might be surprised at how well they work. I pay by the job rather than the hour. I don’t want to pay for the time they spend taking selfies and texting.

Plan to use the oven early in the morning or later in the day to warm up the house. It can do its work while you’re doing something else.

  • Tip: The final muck out of stalls and pens doesn’t have to happen when the animals leave for slaughter. Give your attention to the work that must be done at time and get to the stalls, pens and the hen house before the ground freezes and you’ll be all set.

Do you have a time management tip to share? Please leave them in comments!

In the Kitchen with Prepper Pro

In the Kitchen with Prepper Pro

Prepper Pro w/ Logo

The Homesteader’s Supply logo is branded on each Prepper Pro

This morning I woke up with enthusiasm and dread. It’s a food day. Mushrooms needed to be cleaned and dehydrated. Beans were waiting to be picked, blanched and frozen. The blueberries were taken out of the freezer last night to thaw and needed to be made into jam today. I knew I’d be working with the Prepper Pro today. I waited until it arrived in the mail to make jam. When it was time to put it to use in the blueberries, I hesitated.

The  Appalachian Maple wood is treated with raw, organic coconut oil but I wasn’t sure the blueberries wouldn’t stain it. It’s such a beautiful piece that I didn’t want to take chances with it. I thought about wrapping it in Saran wrap but wasn’t sure it would stand up to two quarts of blueberries without slipping. I opted instead for a zippered sandwich bag. It worked perfectly to protect the wood.

A zippered sandwich bag protected the Prepper Pro from being stained.

A zippered sandwich bag protected the Prepper Pro from being stained.

I won’t use the bag when I grind dehydrated Chanterelle mushrooms into powder or when grinding herbs. I’ll be pulverizing wild mint later this week. The large end (pictured above) of the Prepper Pro fits into a wide mouth canning jar. The smaller end fits into a small mouth jar. As I used it I thought of more ways I’ll use this new tool of mine.

Prepper Pro Sm_03

The Prepper Pro is another of our new products that was designed by Jerri, owner of Homesteader’s Supply, and is being made locally from locally sourced Appalachian maple trees. It’s well balanced, smooth as can be, and fits comfortably in my hands.

You can purchase the Fermenting Kit that comes with:


The Prepper Pro fits into small and large mouth canning jars.

The Prepper Pro fits into small and large mouth canning jars.

Prepper Pro

I’ll be mashing strawberries, raspberries and blackberries I’ve frozen to use later. There are always herbs to grind, both fresh and dehydrated. And I think I’ll give a grind or two to my loose, dried tea blends to wake them up a bit before putting them into the tea ball. I’ll be using this for more than packing my jars when I make sauerkraut. I washed the Prepper Pro when I finished using it, applied more organic coconut oil, and put in easy reach on the shelf. This is going to be used often.

And I’ll be adding the Prepper Pro to a few Christmas baskets this year. I have friends who’ll put it to good use!

A Taste of Raspberry Jam

Raspberry Jam

How to Make Raspberry Jam in 30 MinutesMid-July, raspberry time. The canes are loaded, it’s been a good year for raspberries. Picking gallons at a time barely makes a noticeable dent in amount of berries to be picked. It’s time to make raspberry jam.
Raspberries to mash


You’ll need:

  • Two quarts of fresh raspberries
  • 1/3 cup, rounded, bulk pectin
  • 5 to 6 cups of sugar

Lightly mash raspberries, one cup at a time. You’ll have five cups of mashed berries when you finish.

Stir in pectin.

Move mixture to an eight quart pan and heat to a simmer over medium heat. When simmering, stir in sugar. Bring to a boil that can’t be stirred down and continue to boil for 60 seconds, stirring constantly.

Ladle into hot, sterile jars. Wipe the rim clean with a damp cloth. Place sterile lids and rings, leaving a 1/8″ air space, and hot water bath as recommended.

If you’d like to make jelly you can use one of our juicers to speed the process.

Omega VERT Juicer

Omega VERT Juicer

If you’d like to do this by hand, freeze the berries, let them thaw, and strain the seeds out. Frozen berries are much easier to juice than fresh.

There are so many things to do this time of year that being able to freeze the berries and make jelly later is a great convenience.

After thawing the berries you can heat them to around 100*. Don’t cook, just heat. Remove the juice you can pour out easily, then hang the remaining berries in cheese cloth to drip into a pan. When the dripping slows to an unproductive rate, give the cheese cloth a gentle squeeze to get the last of the juice.

Lightly mashed raspberries

Lightly mashed raspberries

Raspberry Jam. Imagine a warm biscuit and jam this winter.

Raspberry Jam. Imagine a warm biscuit and jam this winter.

Raspberry Jelly Recipe

This recipe is different than the jam recipe in a major way. This recipe doesn’t use pectin. You might need to make it a few times to get it just right. If it’s too thin you can use it as pancake syrup, on ice cream or in smoothies. It won’t be what you were aiming for but it won’t go to waste.

4 cups raspberry juice
1 1/2 pounds sugar

Mix together. Heat to a gentle boil. Skim off any foam that settles at the top. Continue to boil for 20 to 30 minutes. When your spoon is lightly coated the jelly is ready to be jarred. Ladle into hot, sterile jars, leaving a 1/8″ head space. Wipe the rim clean, place lids and rings on, tightening the rings to “finger tight.” You want it tight enough to keep water out but loose enough to let air escape during the hot water bath.

raspberry bowls