If you’ve ever tried looking up the instructions for making yogurt on the Internet, you probably became overwhelmed rather quickly by all the different recipes and techniques. It seems like everyone has their own way of doing it. For a beginner, it can be too confusing to sort out what works best–and to anticipate where things might go wrong!
Fortunately, the Homesteader’s Supply staff has come up with a tried-and-true method for making the creamiest, most delicious yogurt ever! Once you try making yogurt our way using any of our yogurt cultures, you’ll never want to eat store-bought yogurt again.
A Word about Our Yogurt Cultures
We carry a variety of yogurt cultures, including Bulgarian, Italian, and ABY-2C. The main differences between them are in the flavor and the viscosity. Some are more sweet, and some are more tart. Some are thinner, and some are thicker. If you like a very thick yogurt with a mild, sweet flavor, try our Italian culture.
An Overview of the Process
The process of making yogurt comprises five simple steps:
- Heating the milk
- Cooling the milk
- Measuring and adding your chosen yogurt culture
- Incubating the yogurt
- Refrigerating the yogurt until it’s sufficiently cooled to eat
Here’s What You’ll Need
You will need the following:
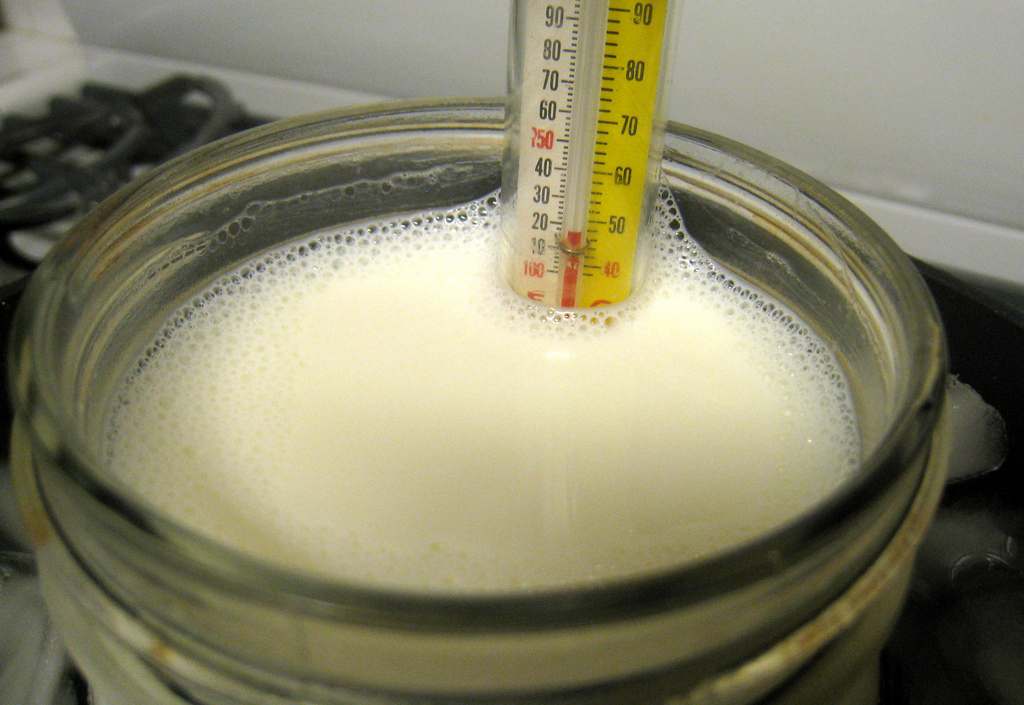
Step 1: Heat Your Milk
- Pour the milk into the stainless steel pot. If using a thermometer that attaches to a pot, making sure the tip of the thermometer isn’t touching the pot. (If using a digital thermometer, follow the manufacturer’s instructions.)
- Gently heat the milk on medium until it reaches 180 degrees Fahrenheit. Then turn off the heat and remove the pot from the burner.
Be careful not to overshoot 180 degrees. It’s better to go slowly rather than to try to turn up the heat too much and then not be able to get the temperature to stop climbing too fast.
Step 2: Cool the Milk
Allow the milk to cool to 115 degrees Fahrenheit. You can do this by allowing the pot to sit on the stovetop (if cool) or counter. Alternatively, immerse the pot in a cold water bath to speed up the cooling process. If you choose to do this, however, be sure monitor the temperature very carefully so the the milk doesn’t cool below 115 degrees!

Yogurt culture is similar to yeast in that the milk needs to be within a certain temperature for the culture to work properly. If the milk is too hot, it will kill the yogurt culture. On the other hand, if the milk falls below 100-115 degrees, the culture won’t get activated.
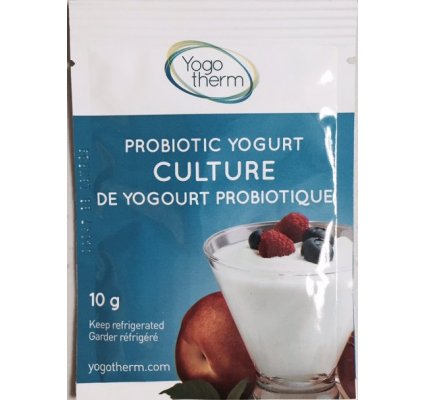
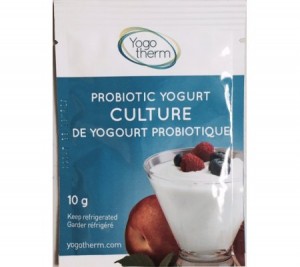
Step 3: Measure and Add the Dried Yogurt Culture
The amount of dried yogurt culture you need depends on the amount of milk and the type of culture you’re using. For example, in this recipe we are using two liters/quarts of milk, so we can use one envelope of our dried Bulgarian yogurt culture. If you are using a different type of yogurt culture, be sure to read the package directions to determine how much to you need.
Once you’ve measured out the appropriate amount of dried yogurt culture, add it to the cooled milk as described below.
It’s important to mix the yogurt culture in very thoroughly; otherwise, your yogurt might separate. The most reliable method is to start by sprinkling the dried yogurt culture on top of the warmed milk and letting it sit there for a minute or so until it dissolves. When the dried culture has dissolved completely, mix it into the milk. Make sure the culture is distributed evenly throughout. If you start mixing before the dried culture has completely dissolved, it can clump; and then you won’t be able to mix it in thoroughly.
Step 4: Incubate the Yogurt
It’s important to keep your yogurt as close as possible to the ideal temperature of 105 degrees for at least 10 to 12 (or up to 24) hours so the beneficial, health-promoting bacteria in the culture can multiply. This process is called incubating the yogurt. The longer you incubate the yogurt, the fewer carbohydrates it will have because the bacteria feed on the sugars naturally present in the milk. And, a longer incubation period results in thicker yogurt!
This step is easy if you have a Yogotherm or VitaClay yogurt maker. All you have to do is transfer the yogurt into the provided container and follow the manufacturer’s directions.
Things can get a little trickier if you don’t have a yogurt maker, but it’s still relatively easy to set-up your own incubator environment using readily available supplies. Be sure to transfer your yogurt into an appropriate container first! Large Mason jars are a good choice,
We recommend insulating the container of yogurt with towels and placing it in a cooler to keep the heat from escaping. You’ll want to fill any extra air space in the cooler with additional towels (or clean rags) to maximize the insulation. Then, set the cooler in a very warm place.
Ideally, you want to keep the temperature of the yogurt as close to 105 degrees as possible during the incubation period. Under normal conditions, the temperature will drop very slowly over time. It probably won’t fall below 80 degrees, though, and that’s okay.
Step 5: Refrigerate the Yogurt
When the incubation period is over, your yogurt is ready to be refrigerated. If you’re using Mason jars, be careful the temperature doesn’t drop too quickly or the jars might crack.
Allow your yogurt to cool in the refrigerator for at least six hours. During this period, the yogurt will thicken. If the yogurt has separated, you can stir the liquid back in.
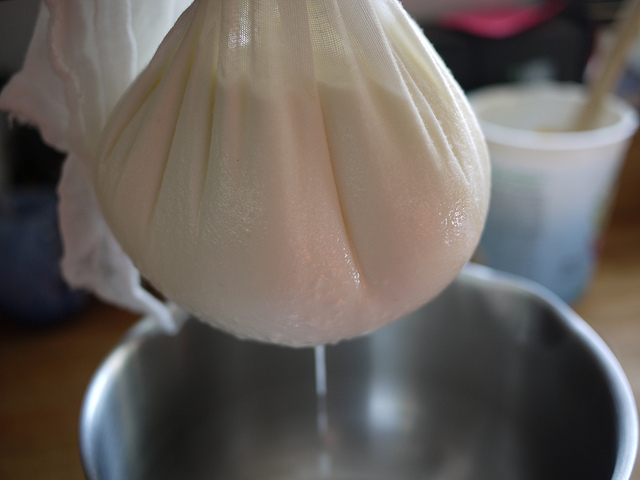
For thicker yogurt, you can drain off some of the whey. The easiest way to do this is by using cheese cloth to strain it. You can put the yogurt in cheese cloth and hang it over your kitchen faucet, or suspend it over a bowl and let it drain until the yogurt becomes very thick. If you let most of the whey drain out, you’ll end up with delicious yogurt cheese! Simply scrape the yogurt off the cheese cloth, whip it until it becomes very smooth, and then add herbs, spices, honey, or whatever flavorings you like. Place it in the refrigerator to cool, and in a few hours you’ll have scrumptious yogurt cheese! It’s delightful on crackers, with chips, on sandwiches, etc.
Incidentally, some folks like to thicken yogurt by adding a few tablespoons of powdered milk before heating the milk; however, some experts claim that powdered milk has damaged proteins and recommend avoiding it.
When your yogurt is nice and cool and has reached the desired consistency, it’s ready to eat. You can enjoy it with fruit or whatever flavorings or sweeteners you like.