A customer asks: I recently purchased your Ultimate Cheese Press and now I see that it has no pressure gauge. Many of the cheeses I’d like to try need to be pressed at a certain pressure for a certain amount of time. Can I make those cheeses with this press, and if so, will the texture come out right? I’d like to know how I can make sure I’m putting the correct pressure on my curds.
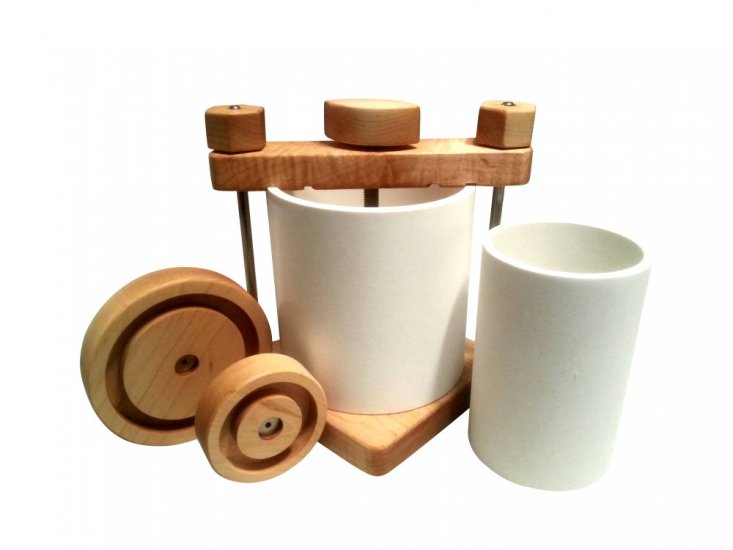
Ultimate Cheese Press
Jerri’s answer: Yes, you can make any type of cheese using our Ultimate Cheese Press. No pressure gauge is needed on any press because cheesemaking is a natural process and the whey will release only when it’s ready. The release of whey depends on many variables, such as the temperature at which the cheese was made, the temperature of the curd going into the press, the pH, the type of cheese, and sometimes I like to say the phases of the moon because you just never know. Cheesemaking is more of an art than pure science.
A long time ago, someone wrote recipes for the old fashioned danish cheese presses that used hanging weights to apply pressure to the curd. Then some folks took those recipes and transferred their weight information into modern recipes for presses that have a mechanism in place for applying pressure. And then, some folks decided that modern presses must need a pressure gauge, and so they built one into the press.
The pressure gauges on today’s presses aren’t particularly accurate because they base the amount of pressure on the number of turns of the handle. Of course, depending on the hardness of the cheese, and depending on whether pressure is applied near the beginning or the end of the process, the amount of pressure being applied varies.
Nowadays some manufacturers are adding pressure gauges to their presses. They drive up the cost, and they’re just not necessary.
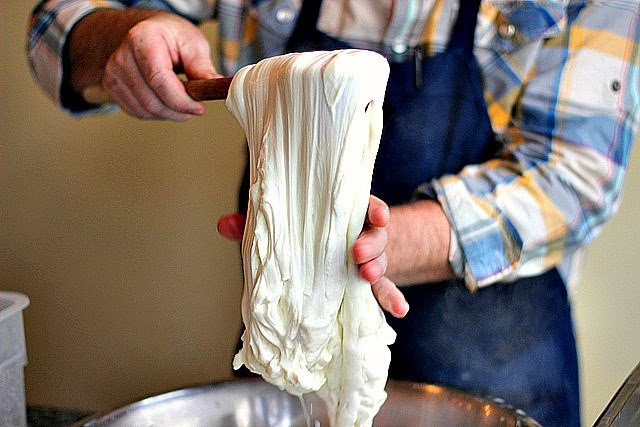
The bottom line is that our press was designed to press any type of cheese the way it was meant to be pressed…that is, the natural, old fashioned way. You do this by transferring the curd into the press, securing the follower on top, and then turning the top knob by hand until it’s tight (not forced). When the whey is ready to release, it will come out of the bottom of the mold. And as it releases, the top knob will become loosened.
So all you need to do for the first couple of hours is to check your press every so often and make sure the top knob is tightened securely. The harder the cheese, the less whey will be released because it was already released before you transferred the curd into the press. A softer cheese, like a Colby, will release more whey. Sometimes you might even see some whey on top of the follower. If this happens, just tip the whole press over to allow that whey to pour out.
So if you have recipes that suggest specific pressures, ignore them. All you have to do is follow the directions for using our Ultimate Cheese Press and your cheese will come out perfect every time!
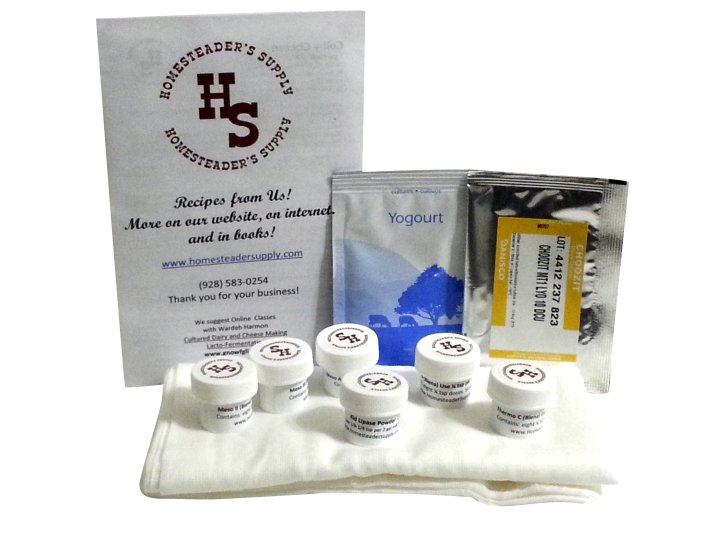
When you make cheese, you get whey as a by-product. Here’s a question from a customer about whey.
A customer asks: What can I do with the whey that’s left over after making cheese, Greek yogurt, butter, etc.? It seems like such a waste to throw it away.
Jerri’s answer: Whey is loaded with protein, so you definitely don’t want to throw it away! You can use whey in just about anything…soups, sauces, baking, protein drinks, etc. Adding whey to these foods makes them even more nutritious.