
It’s that time of year – garlic. It’s time to check on the garlic you planted last year and to choose and order your garlic varieties (unless you’re growing your own seed stock, that is!) and plan ahead for the day you plant garlic.
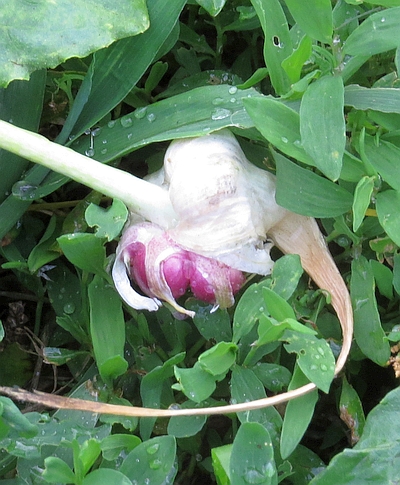
Garlic Bulbils
I pushed a garden fork into the damp soil this morning, loosened a head of garlic and gave it a tug. It’s small. I missed this plant when I cut off the scapes and energy went into producing lots of little bulbils in the flower rather than a larger head. We’ve had plenty of rain so the soil has never dried out. There was plenty of compost in the soil when I planted the individual cloves 10 months ago, and I mulched with more than enough hay to control weeds. It’s small but probably very tasty, and there’s still a little more time for the rest of the plants, which still have nice green leaves, to grow.
Look around the garden. What area will be open in late fall that will also be convenient next year? You won’t be able to drive a tractor through the place you choose for this fall’s garlic planting. Is there room to go around? Will the spot be inconvenient when you’re maneuvering the rototiller between rows next year? Does the soil drain well? If there are puddles in that spot each spring it’s not the place for your garlic.
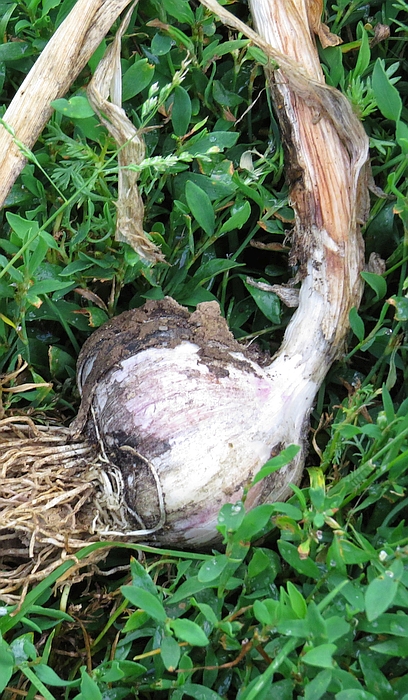
Just dug…
Garlic likes soft soil that has been enriched with lots of compost. You’ll need to turn over the top 8 to 12 inches of soil. If the spot you choose has a weed problem now’s the time to get it under control. Garlic doesn’t like competition. If the weed load is light you’ll have an easy time planting and can skim ahead past solarization. If that’s the case, a lot of gardeners are envious!
Solarization will kill tender annuals and some perennials, and kill a large portion of the seed bank. The seed bank is the ungerminated seeds in the soil. Seeds can survive for years before germinating. The Hairy Galinsoga you thought you got rid of five years ago might germinate next year because it’s been sitting dormant the seed bank.
Prepare the soil for solarization by harvesting whatever you have growing, and pull all of the weeds you can possibly get out of the ground. Smooth the surface, leaving no room for gaps between the soil and the plastic you’ll use.
Soak the soil deeply, at least 12 inches. Moist soil will retain heat better than dry soil. You don’t want to have to remove the plastic for the next four to six weeks so be generous with the water.
Cover the area with a single sheet of clear plastic unless you live in an area that doesn’t get very hot. In that case, it’s probably best to use black plastic that will prevent germination in seeds that require light to germinate. Weeds that germinate under clear plastic will “cook” and die. Choose 1.5 to 2 mils (thickness) for larger areas. It will stand up to wind and light foot traffic from wayward pets and wildlife better than 1 mil. Painters plastic will last three to five weeks. Keep an eye on the plastic for signs of breaking down and remove it before it starts to crumble. If your seed bank is extreme you might opt for UV treated plastic (greenhouse plastic) that won’t break down so that you can leave the soil covered from now until planting time.