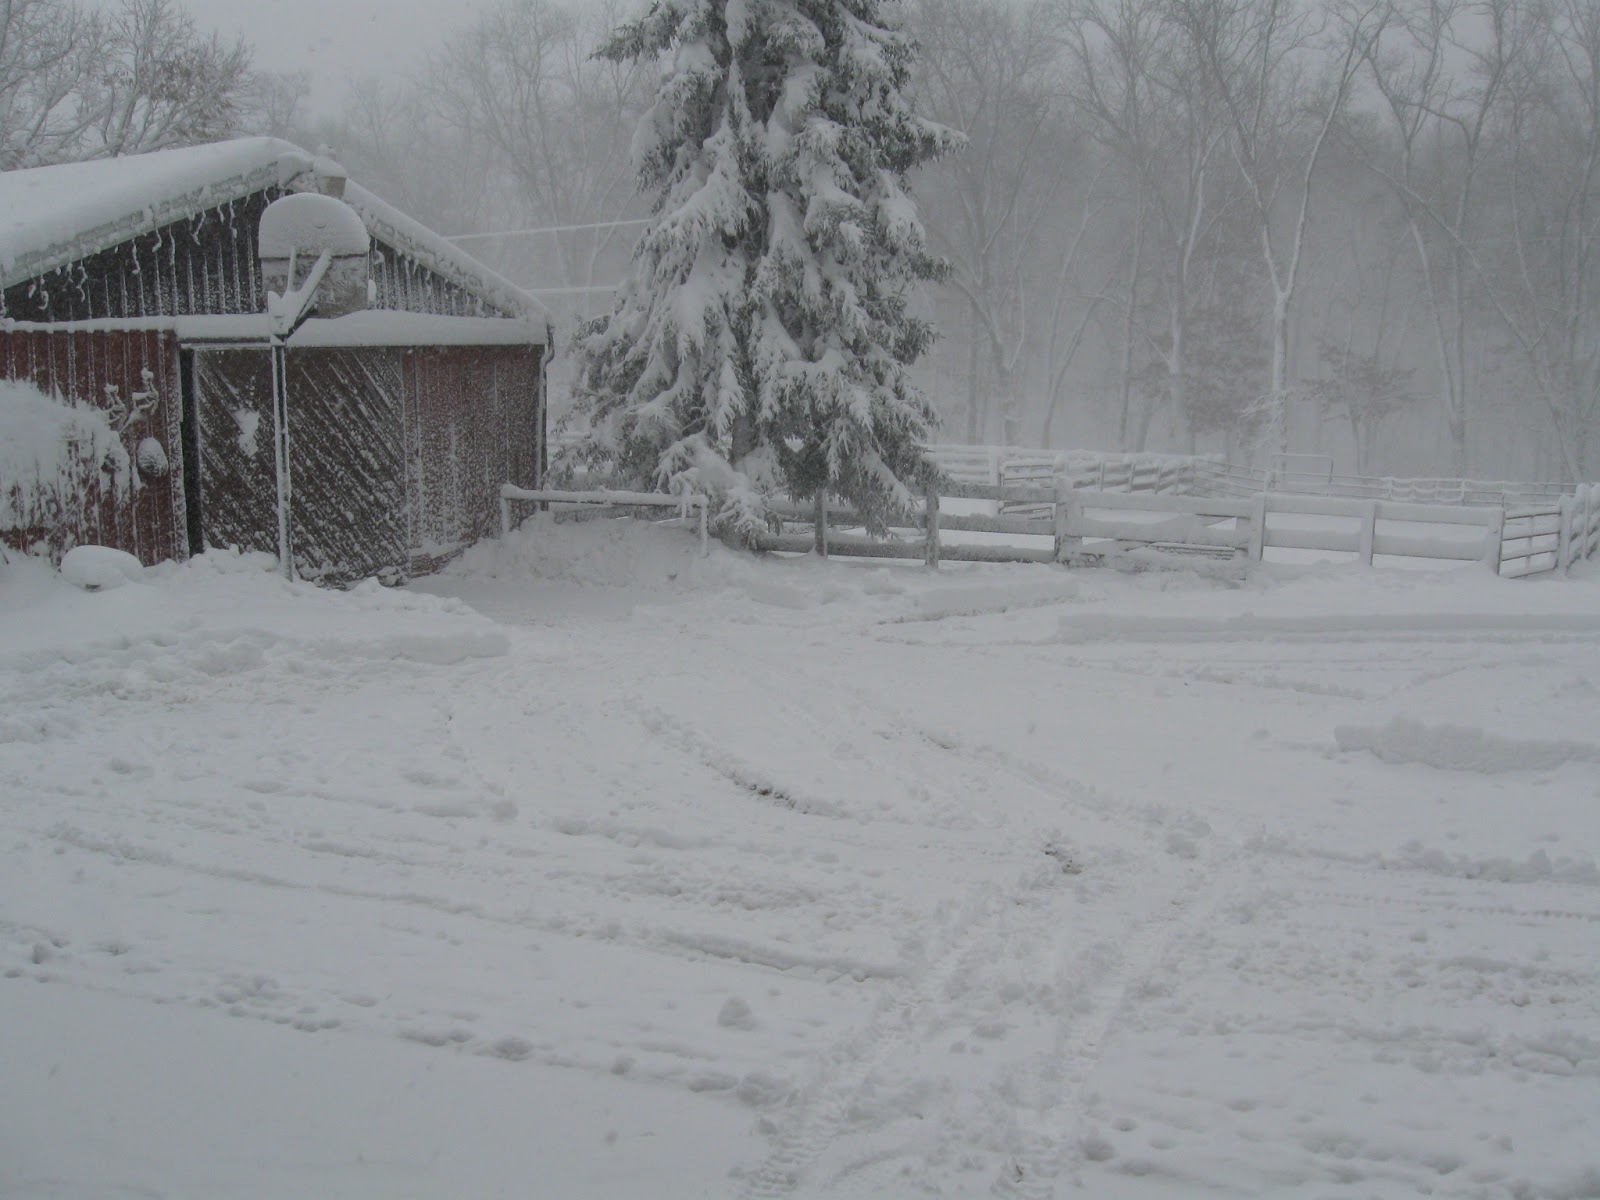

A few weeks ago, we were in the path of winter storm Draco. Our new little homestead was hit with 18 + inches of snow in a twenty four hour period. We spent all day the first day barely keeping up with the falling snow as far as driveways and access paths to the barn and pastures. We started the snow blower up at about 9 a.m. and finally went in to eat soup at about 6 p.m. that night. This photo is after the first 8 inches fell and was phase one of snow removal. The snow was a wet and heavy snow… with rain falling about mid day. Cookie and Do spent most of these two days in the barn. We had several extra barrels filled with water in their stalls just in case the electricity went out and the well couldn’t feed their automatic watering unit. We felt very prepared, knowing this storm was set to hit our area of Wisconsin especially hard. We had hay stacked up in the barn and plenty of supplies stocked to get through some time not knowing how snow removal would be up here on the ridge.
The planning and preparation were well worth the time! We were only snow bound for two days and never did lose electricity for more than a few fleeting seconds. Everyone did great. The horse’s blanket was soaked after the heavy wet snow, so we took it into the heated garage and draped it over some saw horses – by dinner time it was dry and ready for the single digit night time temps that were predicted for that evening.
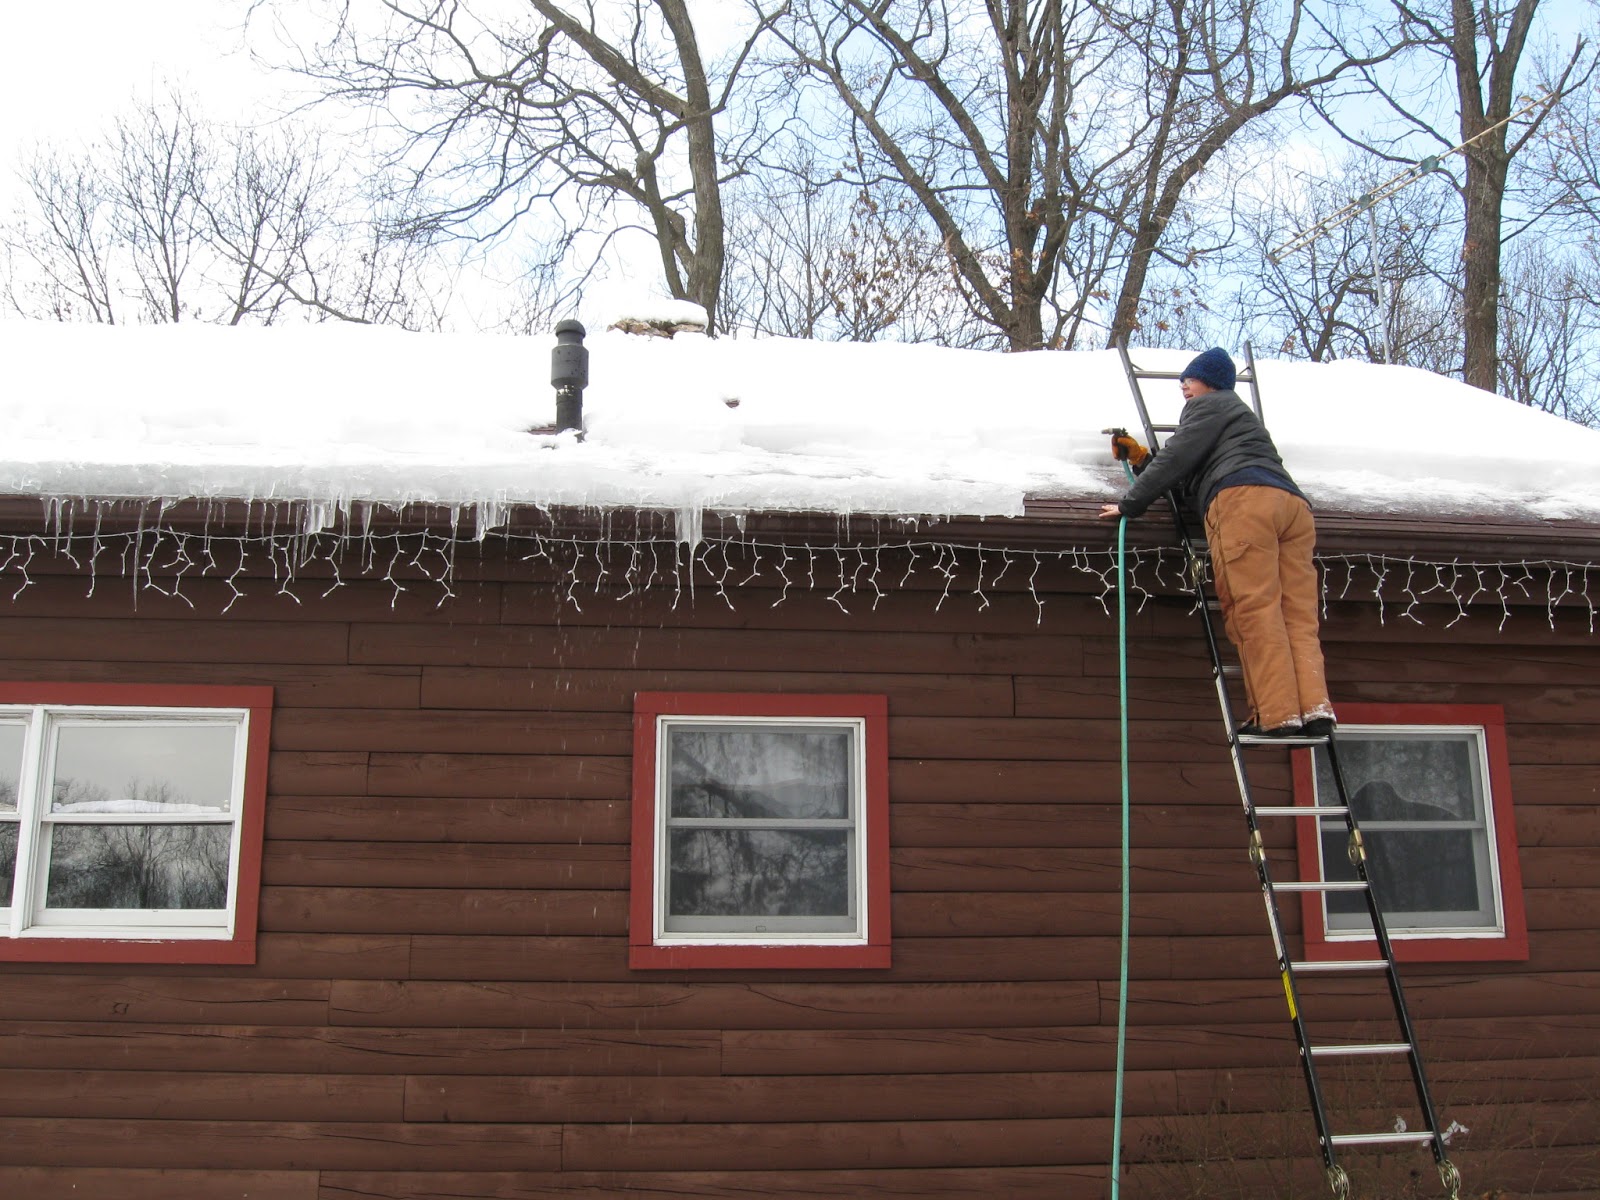
The one thing we didn’t think of was how wet all of that snow was on the roof. Temps dropped so fast that night that by the next day the snow on the ground was light and fluffy. It was a week or so after the snow that we noticed the ice dam up on the roof of the house. The snow on the shingles was so wet that when the temps dropped so quickly, the bottom layer created a thick blanket of ice over the roof. This can cause all sorts of issues… damage to the shingles, water leaking into the attic space and with wet insulation there is the possibility of mold forming up in the attic space. After some reading and research we went to Farm and Fleet and purchased a 22′ snow rake.
What a wonderful invention that is!!!
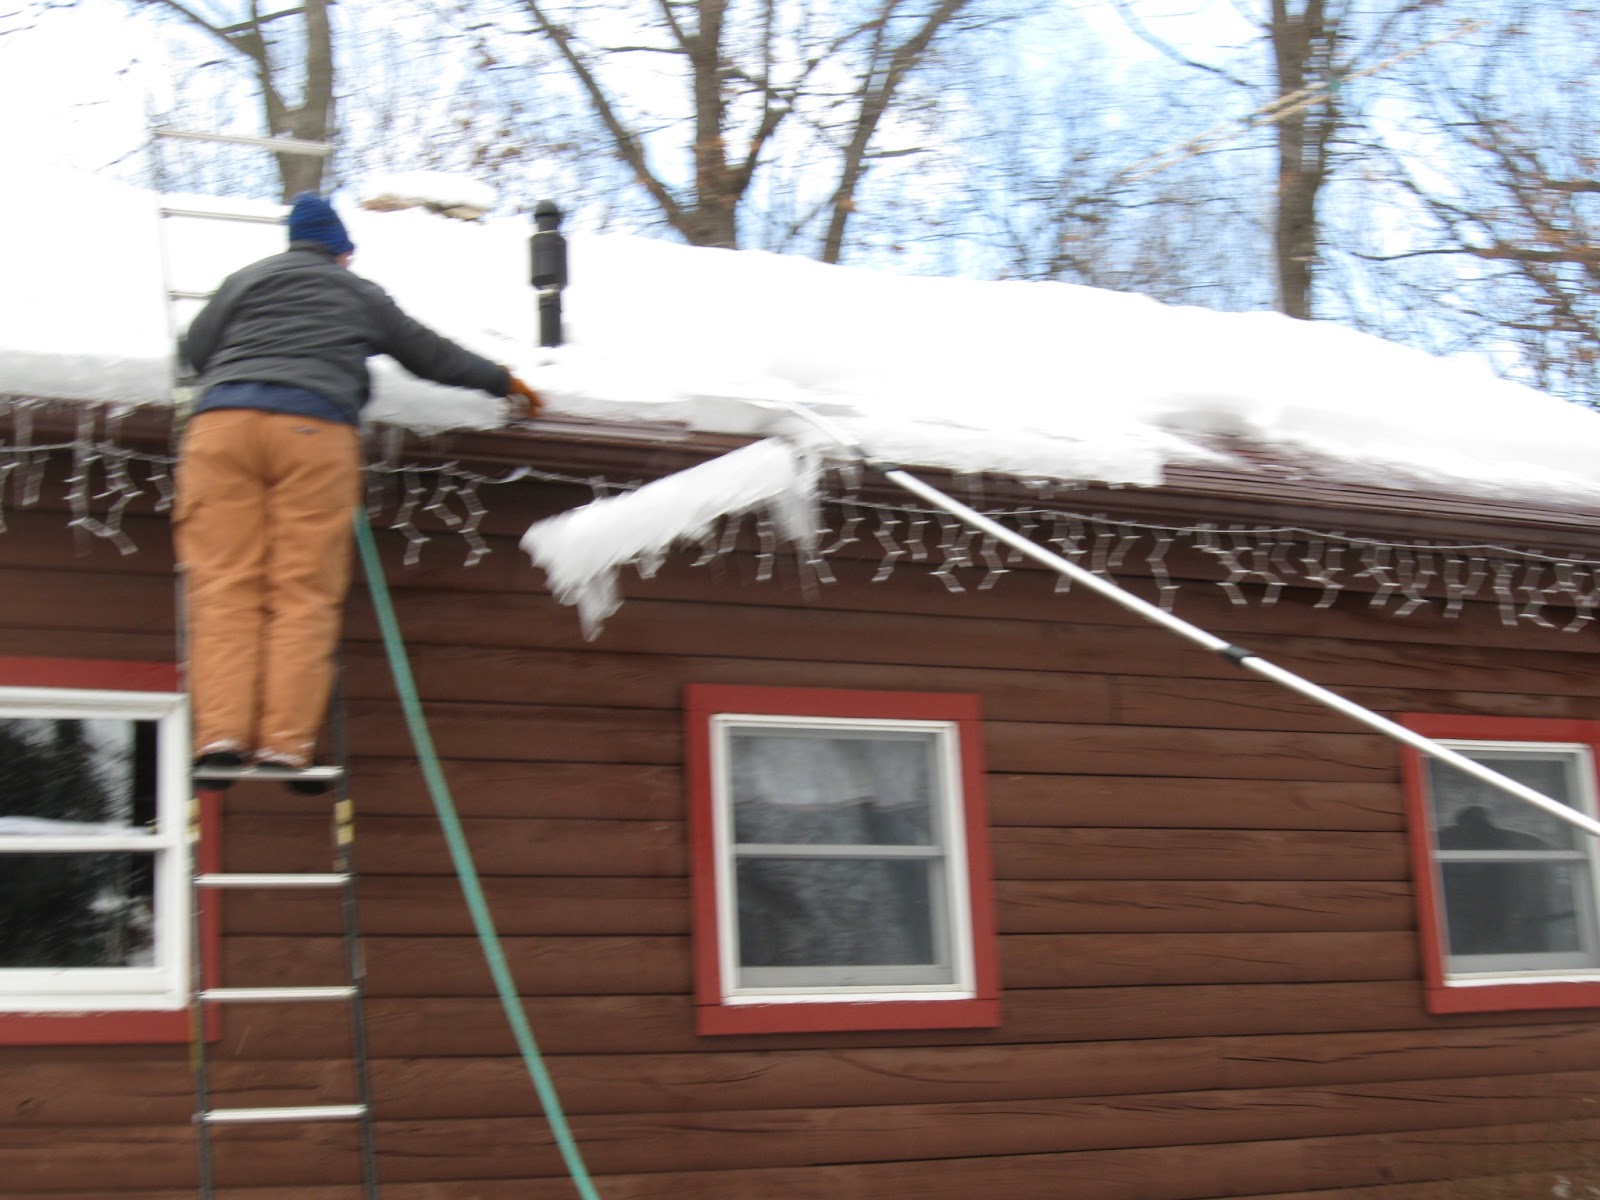
The pole extends to the length needed to remove snow built up on the roof. We set the length of the pole to remove 4′ of snow from the edge of each roof. Once that was done we realized the issue on the cabin. We had an ice dam of about 8″ thick at the edge of the roof line. The garage was just snow, same with the barn, but the cabin had quite the ice dam. The funny part was that it was only on the east side of the house. The west side was just snow and easily pulled down with the snow rake.
We have a spigot on the side of the cabin that is tied into the hot water heater and that was a blessing!!! Yesterday, after the snow was all raked down, we hooked up a hose to that hot water spigot and slowly worked at melting off the ice dam before it took down the gutter or started leaking into the roof of the cabin.
The first thing we had to do was thaw out the down spout, which was frozen solid. it took some time but soon was flowing freely and we were ready to start on melting the dam. The articles we read explained that all is needed is to get some shingle clear so the sun can melt off the rest of the ice. We raked up about four feet and then made sure to have 6″ of shingle completely melted of ice. We took our time spraying off chunks of ice in about 2 foot sections. I cut through the sections with the hot water and Matt pulled them down carefully with the snow rake. It was a very WET and cold job, but with insulated bibs and several changes of coats / gloves… I didn’t get too chilled. Be sure to spray the concrete with hot water to get a good grip with the ladder feet… it was slippery a bit until we sprayed down the concrete.
As of today, the snow up on the roof is still there, but what has melted is now flowing down into the gutter properly and draining off without issues.
I’m sure it was just so much snow and so wet that it created a perfect situation to create an ice dam!
Happy homesteading!
If you’d like to see more pictures from the storm… please visit our facebook page… there are tons of photos!
https://www.facebook.com/HomesteaderSupply